In our previous post, we showed you how to turn “forgotten” fibers into beautiful batts (click here if you missed it). Today, we’ll talk about how to spin from the batts you’ve created, and also cover why and how you should sample spin before starting your next project.
Spinning from Batts
Before we get into the nuts and bolts of sample spinning, we want to talk about some of the ways you can spin from batts. Spoiler alert: there is no wrong way! The approach you choose will depend on several factors, most notably personal preference. The fibers in your batt, the type of batt you are spinning from (layered, striped, heathered, etc) and the desired yarn you want to make from it will also guide your spinning! This is where sampling can come in so handy, as you can experiment with each technique on a smaller scale to see which one achieves your desired results.
You can divide each batt into strips, start spinning from one corner and draft sideways, pull off chunks to spin from at random, zigzag across your batt, or even roll it up to spin from it rolag-style. This blog post has some excellent visual representations of each approach (and more!).
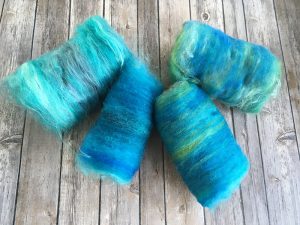
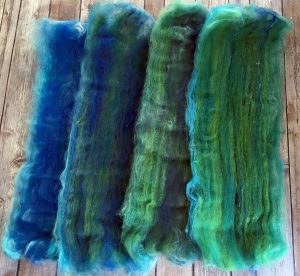
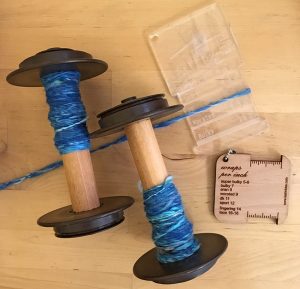
If you have a series of batts, you may wish to spin them in a specific sequence to achieve a certain effect. For instance, the batts shown here could be spun to either create a subtle gradient in the finished yarn, or a striping sequence of blue and green, depending on the order in which each batt is used.
Why Sample?
If you are new to spinning from batts, working with a new fiber, or have your heart set on creating a specific yarn for a certain type of project, sample spinning is an important step to ensure a successful spin! Sample spinning is really just creating your finished yarn on a smaller scale, taking careful notes throughout the process so that you can reproduce your results on a larger scale later on. It’s a great time to experiment with a new fiber or technique with minimal pressure.
Pro Tip: Make sure you purchase enough fiber or card enough batts to allow for sampling; in general, you should plan on using approximately 1-2 oz. for sampling.
A Sample Spinning Checklist
You will want to produce your sample skein in the same conditions you plan to make your finished project – that is, by using the same wheel, setup, techniques, etc. We’ve created a free Spinning Project Tracker PDF where you can keep track of your notes (click here for a free download with newsletter signup.)
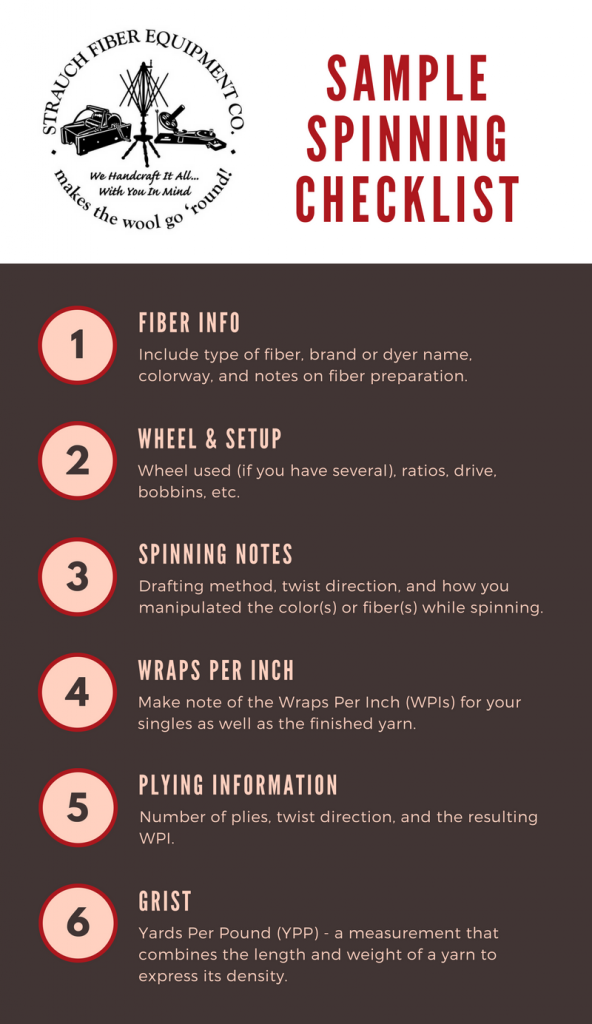
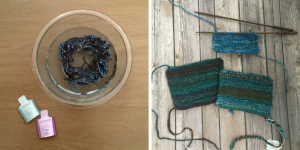
Of course, the information and notes that you find helpful to the process may differ slightly, but these 6 items are a great jumping-off point as you begin your sampling process. If you plan on spinning a yarn with 2 or more plies, make sure to keep careful track of your singles as well as the resulting yarn once they are plied together. In particular, the thickness of your singles will be important to note, and this is something you can easily check throughout the spinning process to ensure consistent results. Shown below is our sample yarn held against a Spinner’s Control Card (find out more about these useful tools here on the PLY Magazine blog).
Sample Spinning: Singles with a Spinner’s Control Card & WPI Gauge
Finishing Notes
We recommend treating your sample skein as you would the finished yarn. If you usually let your singles rest one day before plying, then make sure to do so when you are spinning the sample. And, of course, you will want to wash and dry the sample skein in the same way you typically do so; whether it’s a quick rinse in the sink with your favorite wool wash or a light steam, ensure you also take care to dry your sample skein as you normally would, either laying flat or hanging in a safe place away from pets and small children. Finally, work up a gauge swatch with your sample yarn and wash it so that you have an idea of how it will behave in a knitted, crocheted or woven piece.
Stay tuned for our next post in the Fiber to FO series, where we’ll talk about how to spin for a specific project!
Like this post? Pin it!