Wet felting is a technique that uses friction to blend together wool fibers into a solid sheet. Today, we’ll show you how to felt batts straight from your drum carder into a thick sheet of felt that you can cut into smaller squares to be used as mug rugs or coasters. This is a fun, fast DIY idea for holiday gifts, or any time of year, and it’s oh-so-easy to do.
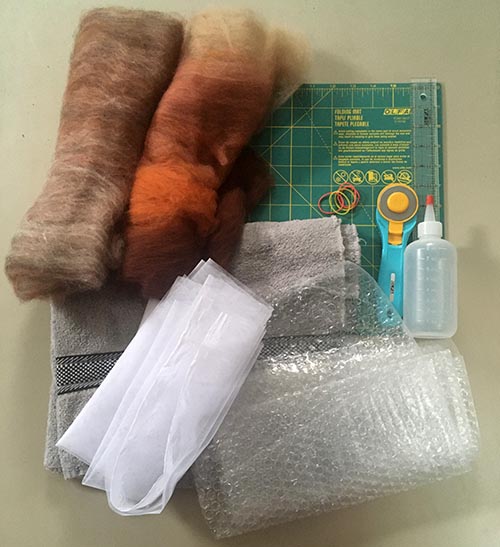
Supplies:
2-3 finished batts (we used a striped batt and a heathered batt from this previous blog tutorial, the number of batts you use will determine the resulting thickness)
Mesh screen, cut into two equal pieces, approx. 20”x30”
Bubble wrap – two equal pieces to match mesh screens
2-3 plastic shopping bags
Old towel
Container filled with hot soapy water (you can use dish soap or a wool wash like Eucalan)
Large, waterproof work area (kitchen table or counter, or card table works well)
Rubber bands
Rotary cutter
Cutting mat with grid
Acrylic ruler
Instructions:
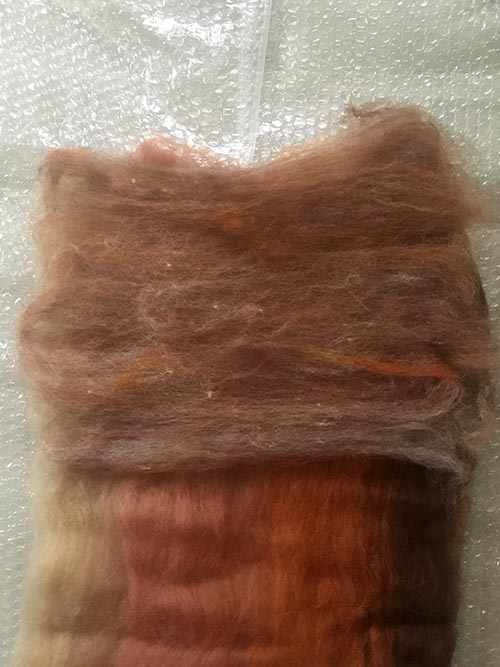
Start out by preparing the batt for the wet felting process. You’ll do this by creating a series of layers, starting with the first mesh screen. Place 1 layer of bubble wrap on top, then lay the first batt in the middle of the screen & bubble wrap.Rip second batt in half and lay both pieces on top of first batt to cover from top to bottom like so:
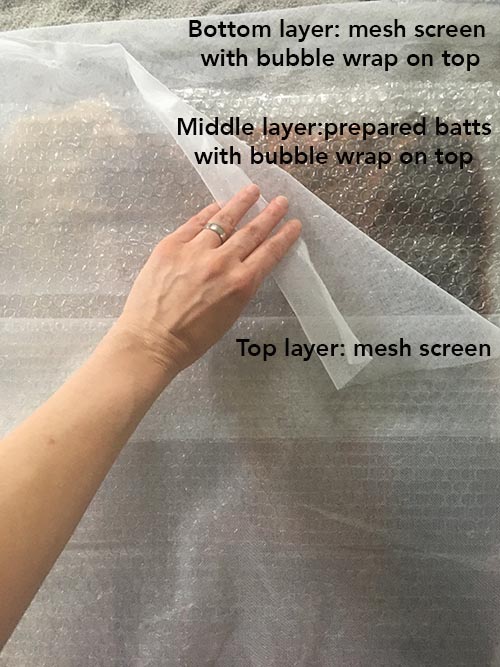
Place second mesh screen on top of batts. Your layers should look like this:
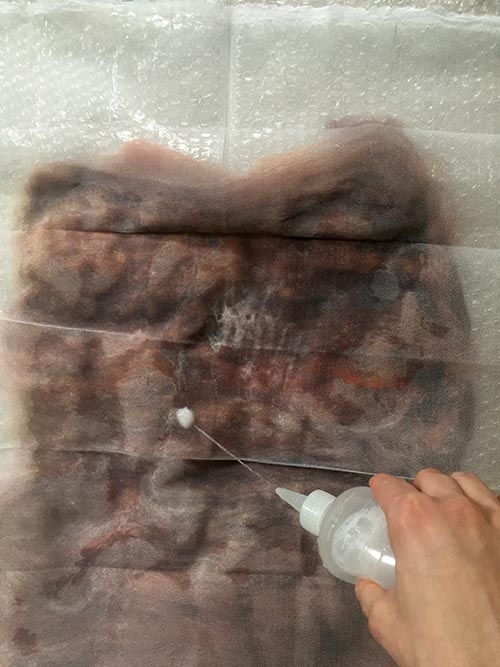
Begin dousing everything with hot soapy water and work through with your hands by rubbing in small, circular motions. Once fibers are soaked through, rub more vigorously and add more hot, soapy water if needed.
Tightly roll up your shopping bags and secure with rubber bands like so:
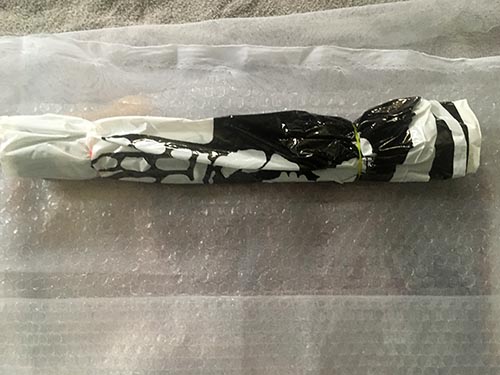
Starting at one end, begin rolling the screens and fiber around the shopping bags and secure with rubber bands.

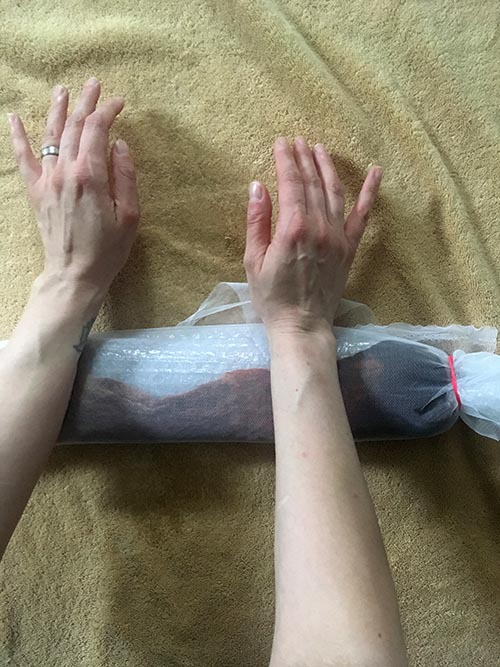
Place a fresh towel on your work area, and then begin rolling everything back and forth approximately 50 times, working your rolled up fiber across the length of your forearms, from elbow to wrist and applying pressure as you work. Friction aids the felting process, so make sure you are very thorough!
Remove rubber bands and unroll everything. Remove top screen layer and flip everything over and roll up again as before, then roll 50 more times to ensure even felting on both sides. Repeat this process until the batts are felted.
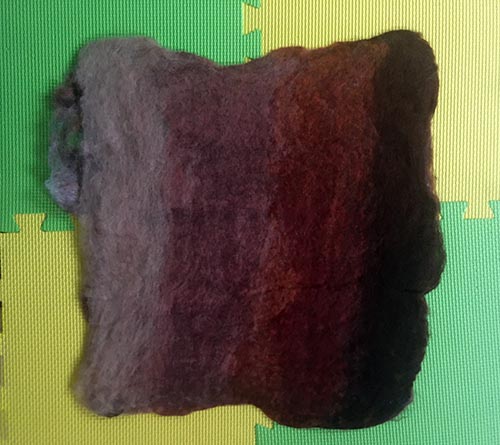
Unroll, remove felted batt from screens and bubble wrap, and rinse under cold water in the sink until the soap is removed (if you used a no-rinse detergent like Eucalan, you can skip this step!). Reshape if necessary and lay flat to dry.
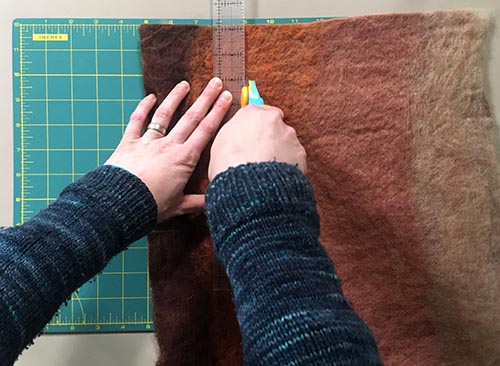
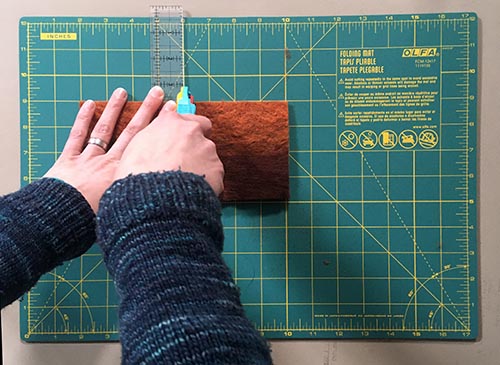
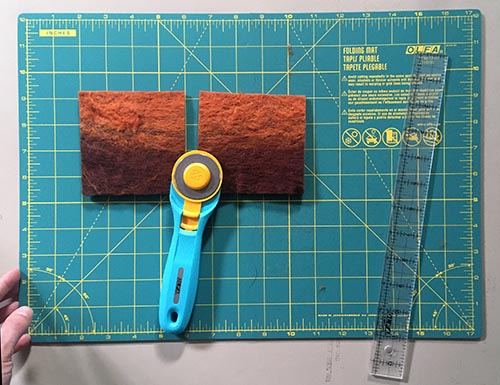
Once your batts are dry, use your rotary cutter, acrylic ruler, and cutting mat to cut into 4-inch square coasters. If you don’t have these supplies handy (or prefer a different shape), you can take a piece of heavy cardstock and draw your desired shape on it, then cut it out with scissors to use as a template when cutting your felted batt into pieces.
Don’t be afraid to get creative! You can embellish your coasters with embroidery or needle felted accents, and you can even stitch two together to create a thicker quilt-style coaster. The possibilities are endless!
We’d love to see what you’re carding, spinning and felting over on Instagram – be sure to share your photos using the #strauchfiber hashtag!
Love this post? Pin it!