Meet Strauch Fiber Equipment’s New Owner, Mike Gallagher!

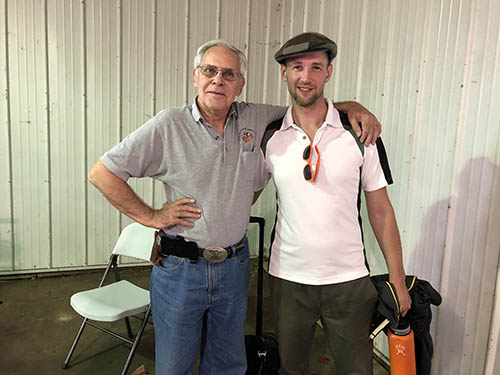
Hi there, I’m Mike Gallagher, the new owner of Strauch Fiber Equipment Co. Right now, I’m learning the ropes and training with Otto and Joanne at their workshop in Virginia. Although they are retiring, they plan on remaining active within the fiber industry and available to me as needed for product improvement and new product development.

Meet Mike Gallagher, Strauch Fiber Equipment Co's New Owner

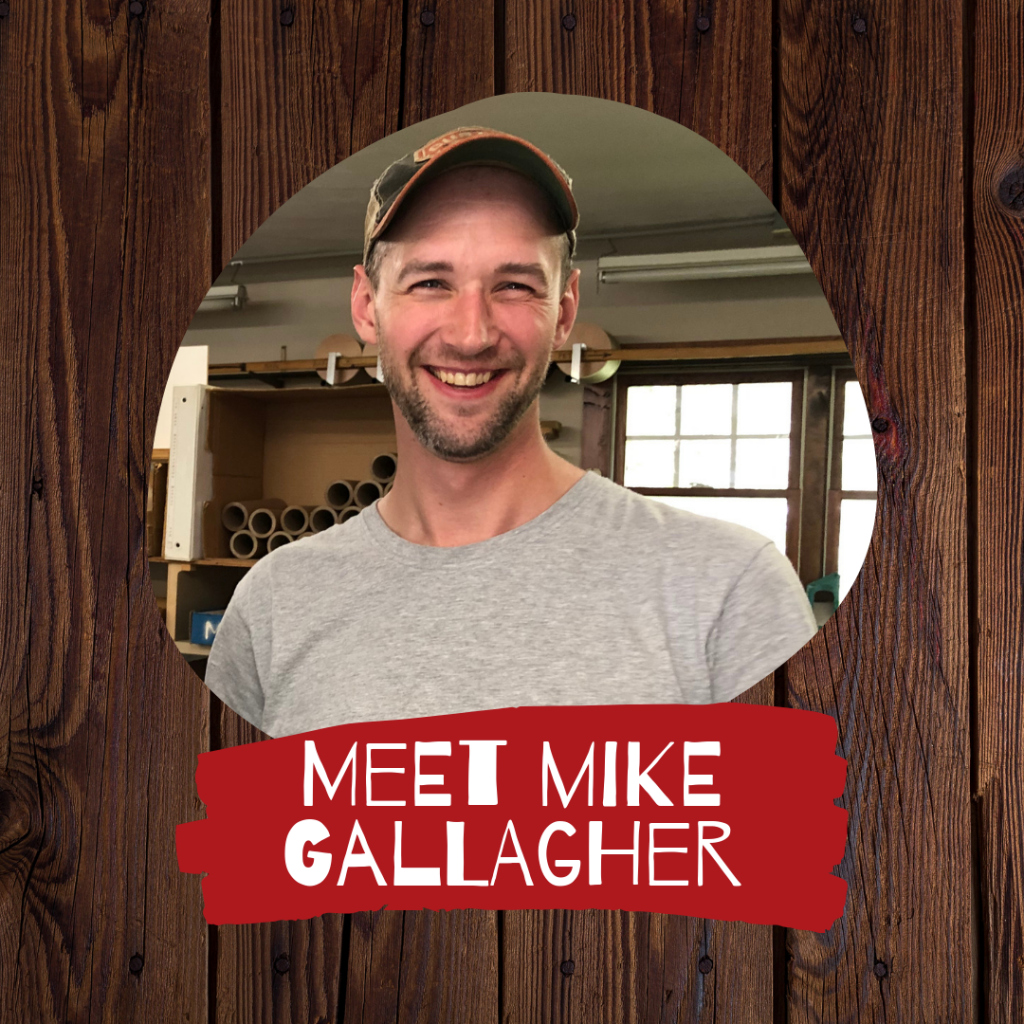
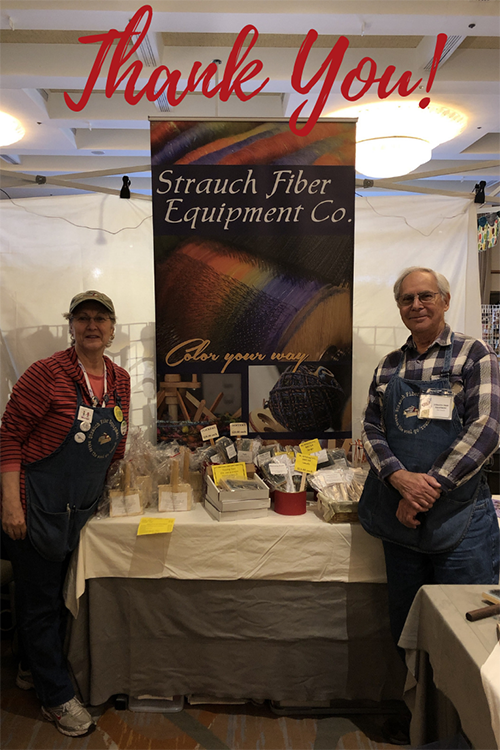
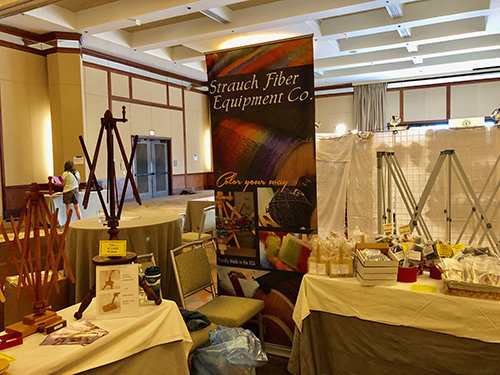
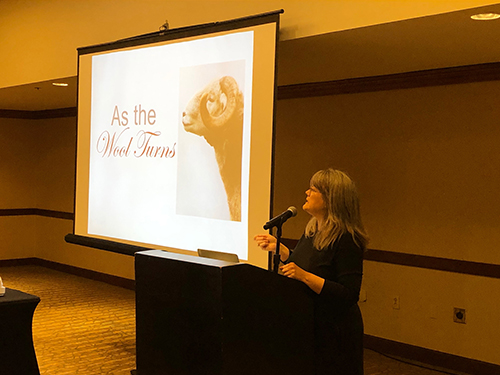
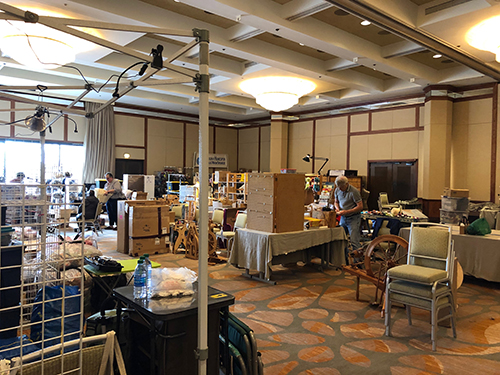
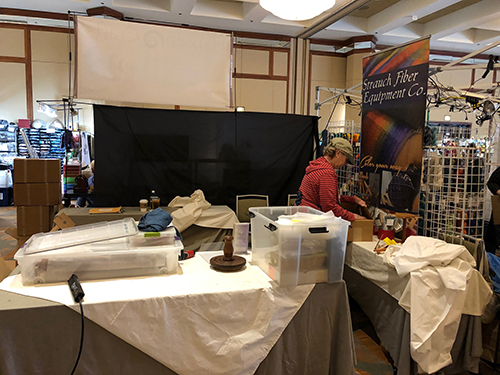
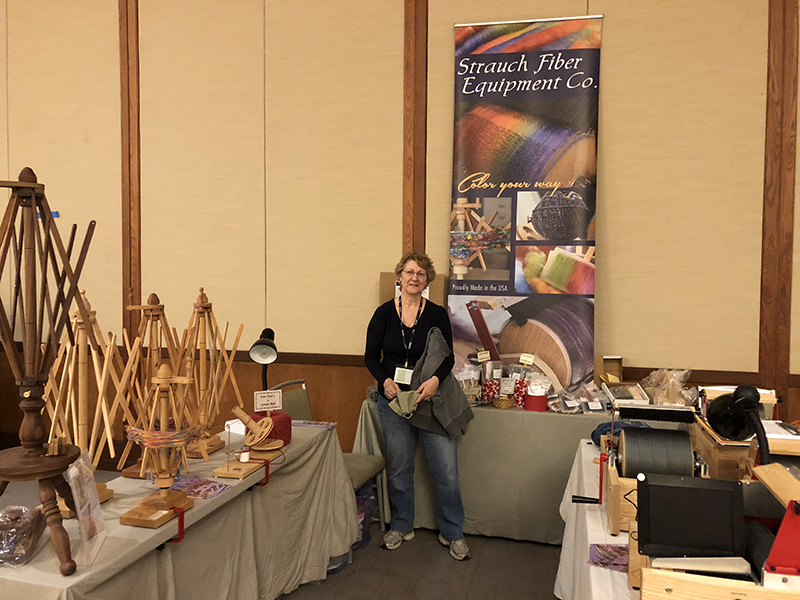
We just got back from the Blue Ridge Fiber Festival, where I was able to introduce myself personally to Strauch fans, and I’d like to do the same for everyone else who didn’t make it out to the show, so here goes:

I grew up in Nebraska, attended college in Maine, and have since landed in North Carolina, where I’ve been for about 10 years total (7 years in the Raleigh area and 3 years in Hickory,  where I currently live and have been running my business). I love living near the mountains, and I have a 4 year old daughter who keeps me busy outside of the workshop.

I used to focus mostly on custom furniture but have recently moved towards making custom wood components. I have a BFA in Woodworking and Furniture Design from the Maine College of Art and have taken workshops at both the Penland School of Crafts and Haystack Mountain School of Crafts.

Ever since I remember, my mom has done needlepoint, and she had a spinning wheel in the house when I was growing up, so I do have some fiber arts experience! During my first year of college, I took a Shibori class where I ended up sewing and dyeing a simple kimono and many other small test pieces using different resist techniques, and I also encountered lots of “fiber arts moments” while attending art school. More recently, I have been making components and doing some equipment assembly for another company in the fiber arts industry, and have been working with them for a little over 5 years now.

I’ve been looking for an opportunity to expand my business and skillset, but hadn’t quite found anything that fit just yet. So when I learned that Strauch was looking for a successor, it was kind of a light bulb moment since it’s in the realm of work that I’ve currently been doing.

The company size feels like a good next step for business growth, allowing me to keep my hands in the making process. The reputation of the product line and the philosophy that the Strauch’s have built the company around really speak to me, and Otto and Joanne are fantastic to work with. We have a lot in common in terms of how we look at business and life.

I’m looking forward to going to more fiber shows, getting to know retailers and customers, and learning how everything comes together. I’m fascinated with how other people make things and learning this process has been a blast! There is still so much to do, but I’m up for the challenge.

In the future, I have plans to expand the product line. Rest assured, we’ll still approach product improvement and development using the same standards Otto and Joanne have set! There might be small improvements or changes to the existing product line, but most of that I see happening on the manufacturing process side, without changing the key things that make these machines such great products.

I look forward to sharing this journey with you!

Posted in About Strauch | Leave a comment

The Next Chapter in the Strauch Story Begins

Last May, we publicly announced our successor search for a “fiber-loving unicorn” to carry on the Strauch tradition. In that time, we have searched high and low and met many wonderful people. We’re very grateful to everyone who helped spread the word or expressed interest in our business, and we are pleased to announce that as of Friday, May 24, the Strauch Fiber Equipment Company has a new owner!

Before we introduce you to our successor, we would like to share a few personal words to express how grateful we are for the wonderful fiber community we’ve been proud to serve these many years. It’s truly been a delight to share our passion at fiber festivals and shows over the years, and the creativity and skill shared by our fans on social media is humbling! Knowing that our products have provided years of joy and made the process of creating easier is the greatest compliment. Thank you for sharing this little corner of the fiber community with us!

thankyou

The process for selling a business is long; for those of you who would like to hear more about this journey (and it IS a journey!), I talk about our own experience in this episode of the Business of Craft podcast. In our case, we have a very specific set of criteria in mind, and when we met Michael Gallagher, we knew he had the chops to maintain the quality and innovation you’ve come to expect from products bearing the Strauch name.

Michael has a BFA in Woodworking and Furniture Design from the Maine College of Art and has taken several woodworking workshops at Haystack Mountain School of Crafts as well as Penland School of Crafts. He also has an associate’s degree in Architectural and Engineering Design from Southern Maine Community College!

Michael is young, energetic, and has many fresh ideas to bring to the table. As we’ve gotten to know him, we’ve learned that he has much more than just technical know-how: he has a true passion for making things by hand, and we are confident that he is the right person to pen the next chapter in the Strauch story.

newownerSM

After a month training at our facilities, the business will relocate to North Carolina, where Michael lives with his 4-year-old daughter. In the days and weeks to come, we hope you’ll enjoy getting to know Michael. Make sure you’re on our newsletter list and follow us on Facebook or Instagram, where we’ll be sharing this transition process with all of our fans.

Posted in About Strauch | Tagged , , | Leave a comment

How To Card A Butterfly Batt

April showers bring May flowers…and butterflies! With so many beautiful species found in the natural world, you’ll never run out of colorful inspiration! Here is the photo we chose to help us select this month’s color palette:

butterflyinspiration

There are many ways to interpret the unique colors and markings of each species; for instance, if you wanted to use these colors in the same ratios as pictured, you would use dark brown or black fiber as your base, with a few shades of blue, white and grey or silver fiber as your blending colors.

Or, if you would rather have a brighter batt that looks as airy and carefree as a butterfly floating in the breeze, you may wish to flip-flop those ratios so that the brightest and most eye-catching color is dominant, with the darker and more neutral colors used in smaller quantities, as we’ve done here.

Once you have chosen your colors, it’s time to start carding!

butterflyfiberSM

Supplies:

  • A Strauch Drum Carder (we used a Strauch Petite)
  • 1 oz main fiber – here, we used two 1/2 oz colors of bright blue merino wool
  • Approx. 1/4 oz accent colors –  here, we used 1/4 oz dark brown merino wool and a small amount of dyed silvery-grey firestar fiber.

Start with your base fiber(s) to get a good base on your drum (approximately half should be sufficient), concentrating on filling the middle part of the drum.  When you have processed all of your base fiber(s), continue to the next step.

bluefibersALTSM

Begin adding your darkest accent color, concentrating on filling the outer edges of the drum to echo the markings of the butterfly wings. Save a small amount of this fiber to use on the next step.

brownfiberSM

Use the remaining dark brown fiber to create a base and top layer (known as a “fiber sandwich”) for your firestar fiber. Process through your carder while still concentrating on filling the outer edges of the drum.

angelinaSM

Next, remove your batt and get ready to spin!

removingbattSM

butterflybattSM

We can’t wait to see your own unique butterfly-inspired batts – be sure to share your projects with us on Instagram and don’t forget to tag your post with #strauchfiber!

Like this post? Pin it!

butterfly battPINTEREST

Posted in Carding, Inspiration, Tutorial | Tagged , , , , | Leave a comment

PLY Away 2019 Recap

The PLY Away retreat is one of our favorite fiber events to kick off the spring season! Held in Kansas City, MO at the 5-star rated Westin Conference center downtown, this delightful venue is a fabulous setting to learn about & share the joy of handspinning yarn. We documented everything from start to finish to give you a behind-the-scenes peek at this popular event!

IMG_3186

With such lush surroundings, you’d almost forget you were in the city!

IMG_1099

There are plenty of spots to sit down and relax.

IMG_1093

The illustrious editor of PLY Magazine, Jacey, is ready with a smile at the welcome table.

IMG_3187

Meanwhile, the vendors start moving into the marketplace.

IMG_1097

This year’s marketplace was in a bigger space, which means that there is even more gorgeous yarn, fiber and equipment to tempt shoppers!

IMG_1096

Here’s a shot of our own booth in the midst of setup:

IMG_1092

We can alway tell when class sessions are done – in comes a wave of excited shoppers!

IMG_1100

What we love about shows like these is the chance to learn from experts – here, Gordon Lendrum is chatting about spinning wheels with a shopper.

IMG_1101

Remember all those cozy spots we mentioned at the top of this post? Now they’re filled with knitters, spinners and all manner of fiber folk!

IMG_1102

As Jacey is so adept at doing, she’s organizing an after-dinner educational talk.

IMG_1103

The keynote speaker, author, and wool whisperer, Ms. Clara Parkes, offers her insight into trends within the fiber industry.

IMG_1104

After a fun-filled event, it’s time to pack everything back up and return home.

breakdown

Our job was much easier, as much of what we brought found new homes before the marketplace closed!

IMG_1107

Until next year…..watch for the date!

IMG_1109

Click here to see our full schedule of events for 2019; we look forward to seeing you soon!


Like this post? Pin it!

PLY Away 4pinterest

Posted in Shows | Tagged , , | Leave a comment

Meet Our Makers: Hopkins Fiber Studio

When we attend shows and fiber festivals, we almost always connect with a new maker who uses our products to create their wares. This month’s installment of Meet our Makers is a little different, however: we connected with Hopkins Fiber Studio over social media, where Emonie frequently shares photos of the gorgeous fibers she’s working with to create beautiful batts. We are so pleased to share Emonie’s fibery story with you today!

IMG_8662SM

Emonie’s drum carder of choice is the Mad Batt’r, which she first tried using in the demo room at the SSK Retreat in June of 2017, along with the Petite. She says: “There was something different about this carder as I had 2 carders at home already but they didn’t seem to card like this! I said..oh! I remember thinking what is going on with this licker in! It’s magic! No adjustments out of the box, no fibers all congregating on the licker in …NOTHING just a smooth batt right off the bat (or batt)!” She went home from the retreat and purchased a Petite, and soon after graduated to the Mad Batt’r to create her bounteous batts and fluffy rolags.

IMG_2501SM

Although she originally started her business sewing handmade project bags, she’s been selling hand-dyed yarns, fibers and more at shows and in her online store since 2018. Most recently, Hopkins Fiber Studio was spotted at YarnCon, Chicago’s Indie Fiber Festival, and she plans to attend the Northern Illinois Sheep and Fiber Festival and the Berwyn Spring Spin In in June.

Through events like these, Emonie gets to share her passion for fibers with other makers. She says, “What’s great about fiber events is getting the opportunity to introduce makers to new things, and that includes new fiber preparations. Some may not know what to do with batts or rolags, or what makes those preparations different. People often ask how that will affect the finished fabric.”

Exploring sheep breeds, texture and color are what drew her to carding, and when we asked her about her approach to combining fibers and colors, she had a lot to share with us:

“My approach is based on the type of batt I make and that’s where I think the Mad Batt’r shines: creating color! You can create any color you want and leave it as-is, or take color as a base and expand from there. My carder allows me to make smooth and textured batts equally and successfully, with no need for multiple carders or drums with multiple TPI’s.”

“When carding smooth batts, I like to make them into a gradient and watch the colors flow. I like to use the same fiber content or content with similar staple lengths so that drafting will be as smooth as the batt itself and the name implies.”

“For Textured/Art batts, the sky’s the limit! I approach color with a bit of abandon and try not to think too hard. I still consider staple length but this is where the fun begins with all the elements: sparkle, locks, ribbon, silk bits and bobs, threads, nepps, noils, oh my! And the Mad Batt’r can handle all of those ingredients. The longer tines on the cloth allow you to fill it to the brim…or not! It’s your choice, but you have plenty of space for bits and bobs and texture. Ohhh man this batt is full of all the things!”

cardingbatts SM

Emonie tells us that she has always been a creative person, and while she also knows how to knit, crochet, and sew, spinning is the one thing she would do if she absolutely had to pick just one thing. Through spinning, she began to venture more into fiber prep and breed studies in her quest to make great hand spun yarns which will create gorgeous handknit and crocheted fabrics. You can follow her fiber adventures on Instagram as @HopkinsFiberStudio, on Ravelry as HopkinsStudio, or visit www.hopkinsfiberstudio.com.

Like this post? Pin it!

hopkinsfiberstudioSM

Posted in Carding, Meet Our Makers | Tagged , | Leave a comment

How to Card a Jelly Bean Batt

Spring has sprung! Today we share a fun way to incorporate several bright, cheery colors into a beautiful batt inspired by a beloved seasonal sweet: jelly beans!

Jelly Beans

The trick to working with so many colors is to start with a neutral background and build from there. For our sample project, we chose a natural white wool fiber to use as the base, and randomly added a selection of dyed fibers and other additives to create a colorful batt that won’t become muddy when  all of the fibers are spun into a yarn.

ColorWheel-SM

If you wish to use more  dyed fibers and less of your neutral base, keep in mind that any primary color that is mixed with its complement will create brown – and the more colors you have in your batt, the greater the chance that they could blend together during the spinning process. If you want to use these colors in the same batt, just make sure that they are not close to each other: red (a primary color) and green (a complement to red) will create brown, as will yellow and green or blue and orange.

fibermix

Once you have chosen your colors, it’s time to start carding!

Supplies:

  • Strauch Drum Carder (we used a Strauch Petite)
  • 3/4 oz neutral wool fiber base
  • Approx. 1/4 oz  mixed dyed fibers and additives: silk noils, cotton nepps, sari silk, cut up ribbons, firestar, rayon, etc.

Start with your neutral-colored fiber to get a good base on your drum (approximately half should be sufficient).

addinsgrid

Begin to add your dyed fibers and additives at random. Use your base color to create a “fiber sandwich” when processing slippery fibers or anything likely to get caught in the infeed drum. Continue until all of your fibers have been processed.

colorsondrum

Next, remove your batt and get ready to spin!

battrollup

We hope you are inspired to start a sweet spinning project to celebrate spring! Be sure to share your projects with  us on Instagram and don’t forget to tag your post with #strauchfiber!

Like this post? Pin it!

JELLYBEANBATTpin

Posted in Carding, Inspiration | Leave a comment

Cleaning & Storing Fleece and Fiber

The spring fiber festival season is just around the corner! For fiber artists who delight in sourcing fleece and fibers straight from the source, these events are the perfect opportunity to replenish your stash with unique fibers you may not find anywhere else. Plus, there are always plenty of tempting prepared fibers from hand-dyers and indie makers, too!

lotsoffleece

As a result, you’re likely to purchase more fiber than you can spin or felt right away, which means that you will need to choose some fibers to store away for a rainy day.

Today, we’ll share some of our best tips for properly cleaning and storing fleece and fibers so that they are ready to spin whenever inspiration strikes!

Cleaning

If you purchased any raw fleece or fibers, assessing their level of cleanliness is your first step. Even if fibers “look” clean, they may have some residual grease (this is particularly common in wools). This grease can attract moths and other pests, and it will also damage your fiber processing equipment if it is not removed from your fiber before use.

As a general rule, we recommend washing all fleece and fibers right away.

Cleaning & Storing Spinning Fiber on the Strauch Fiber Equipment Blog

You don’t need a lot of fancy equipment to get your fleece and fiber squeaky clean – in fact, you don’t even need a special wool wash, you can just use Dawn dish soap to remove the grease! However, we’ve found that a specialized product can make the process easier and faster – Unicorn Power Scour is a popular choice amongst fiber artists and is worth trying out, especially if you have a LOT of fiber to wash.

A large mesh bag such as one you would use for washing lingerie or a sweater is also  very useful to have, particularly if you’ll be using your washing machine’s spin cycle to remove excess water from the fibers.

Photo Mar 11, 1 30 06 PM

Fiber Drying Hack: If you don’t have easy access to a washing machine, try using a salad spinner instead! It will take a little longer, but it is another easy option for removing excess water without damaging fibers, thus shortening your dry time.

Joanne has shared her fiber-washing tips and tricks here on our site to make this step easy for you!

Storing

Once your fibers are clean and dry, it’s time to store them away if you don’t plan to use them right away! While it may be tempting to display them out in the open in attractive shelves or baskets, this will make fibers vulnerable to moths or other pests. Always remember: an ounce of prevention can save your fiber stash!

Photo Mar 11, 1 25 48 PM

We recommend storing your fibers in air-tight containers; if you have enough storage space, you can even sort your fibers so that all of the prepared rovings, tops and batts are in one container, and clean fleece & fiber are in another. Within those containers, you can use Ziploc or Space Storage bags to keep like fibers together, and add an additional line of defense.

Finally, for added insurance, you can include a cedar or lavender sachet to naturally ward off pests.

Worried About Wool-Loving Pests?

It’s highly unlikely that any fibers you purchase at a fiber festival or show will have moths, but fibers from other sources can sometimes be risky. If you have ANY concerns that fleece or fiber you have purchased might have moths or other pests hitching a ride, the best thing you can do is place those fibers in the freezer for a few days to kill eggs and prevent them from hatching. You can find more info about moth infestations (and how to prevent them!) here on the Knit Darling blog.


We hope these tips help you organize your fiber stash and keep it safe & spin-ready. If you liked this post, pin it!

StoringSpinningFiber

Posted in Fiber, Tutorial | Tagged , , , , , | Leave a comment

Resource Round-Up for Fiber Artists

Do you have the urge to clean out your craft room, and need a place to sell some of the tools you no longer use? Have you recently bought a piece of used fiber equipment and need some advice on how to fix up your newfound treasure? Could you use some guidance with a new-to-you technique, or a little inspiration on what to do with all of that yarn you spin?

The internet is full of resources and information, provided you know where to look. Here are some of our favorite resources for fiber artists – we’d love to hear about any websites you’ve come across that aren’t listed here!

IJoanne's ready for buyers

Buying & Selling Equipment

Fixing & Troubleshooting Equipment

Techniques & Tutorials

We’d love to hear about your own favorite resources, especially if it’s something that isn’t listed above – please share them in the the comments!

Like this post? Pin it!

Resource Round-Up for Fiber Artists on the Strauch Fiber Equipment Blog

Posted in Handspinning, Resources | Leave a comment

How to Card a Sweetheart Batt for Handspun Hearts

Looking to add a handmade touch to your Valentine’s Day? There are lots of free knitting and crochet patterns for making hearts for your sweetheart, and today, we’ll not only show you a quick & easy batt project to whip up for the occasion, we’ll also share some of our favorite patterns and a few fun ideas for decorating with handspun hearts. Let’s get started!


BattwithRose

Supplies:

  • Strauch Drum Carder (we used a Strauch Petite)
  • 1/2 oz each of white and red fiber
  • Knitting needles or crochet hook (size will vary based on pattern chosen and the weight of the resulting yarn)
  • WPI Gauge
  • Darning Needle

Start by dividing your white and red fiber in half; you will be processing both colors at the same time, with the white fiber on one side and the red fiber on the opposite side like so:

Photo Feb 05, 9 22 15 SM

Once you have processed half of both fiber colors, flip the placement of colors as you feed the remaining fiber through your drum carder.

Photo Feb 05, 9 27 03 SM

This will ensure that you have a little bit of each color in your yarn as you spin with it.

Photo Feb 05, 9 29 11 SM

Next, remove your batt and get ready to spin! We opted to spin a thick-and-thin single ply yarn because our chosen pattern called for the yarn to be held double. Our yarn was approximately 7 WPI when held double, or bulky weight. We used a size J/6.00mm crochet hook to whip up these simple crocheted hearts using this free crochet pattern and tutorial from Vickie Howell:

HandmadeisLoveSM

Here are a few more fun, free patterns for making hearts:

heartgarlandSM

Now that you have lots of handmade hearts, it’s time to decide what to do with them! Here are a few ideas:

  • Attach to lapels or backpacks with safety pins.
  • Use a few drops of fabric glue to add to a Valentine’s card.
  • String together to make an eye-catching garland (shown above).
  • Use twine, ribbon, or yarn to hang up as ornaments.

We hope you have a sweet Valentine’s Day celebration, and would love to see your handspun hearts, too. Share them with us on Instagram and don’t forget to tag your post with #strauchfiber!

Like this post? Pin it!

HandspunHeartsPinterest

Posted in Carding, Handspinning, Inspiration, Tutorial | Tagged , , , , , , | Leave a comment

How to Make Rolags With a Drum Carder

Have you ever wanted to spin from rolags? This type of fiber preparation is well suited for production-style handspinning, particularly the long-draw woolen method. Today, we’ll show you how to turn prepared fibers into beautiful rolags with a Strauch drum carder!

How to Make Rolags With a Strauch Drum Carder

Supplies

  • Strauch Drum Carder (we used a Strauch Petite)
  • 1 oz mixed fibers (makes 2 rolags): make sure you have approx. 1/2 oz of a “main” fiber for your base, and then the rest of your fiber mix can add up to 1/2 oz.
  • 2 dowel rods
  • Scale (optional)
  • Knuckle-saving batt lifter

NOTE: You will want to tease out all of your fibers before feeding them into your drum carder.

To Make Rolags:

Begin with a layer of your base fiber – you’ll want to use just enough to give good coverage on your drum carder, while still leaving room for all of your accent colors and add-ins.

How to Make Rolags With a Strauch Drum Carder

Here’s where things get fun! Begin adding the remaining fibers at random for a painterly approach, or you can be more methodical with your color placement if you wish to have more “repeatable” results. Either way, work through all of your fibers, making sure to save add-ins for the final layer (this will ensure that they don’t get stuck in the teeth of your drum carder).

How to Make Rolags With a Strauch Drum Carder

Once you have processed all of your fiber, use the knuckle-saving batt-picker to begin removing the fiber from your fiber drum. Once you have worked all the way across the drum, STOP!

How to Make Rolags With a Strauch Drum Carder

Now it’s time to get out both of your dowel rods, which you will use to roll your fiber into rolags. Begin by placing one dowel on either side of the fiber like so, and draft the fiber up just a tiny bit by pressing the dowels together and pulling the fibers towards you, away from the drum carder.

How to Make Rolags With a Strauch Drum Carder

How to Make Rolags With a Strauch Drum Carder

Begin rolling the fibers around the dowel rods, drafting occasionally as you work your way around the drum carder. Once you have removed approximately half of the fiber from the drum, pull dowels away from drum carder to break fiber. Remove rolag by sliding one dowel rod out, and then the other one will come free easily. Repeat this process to remove the remaining fiber from the drum carder.

This time-lapse video shows the process of removing rolags from your drum carder:

We also have another fabulous tutorial video showcasing a slightly different technique for creating rolags with one of our drum carders. In the video below, Esther Rogers from Jazzturtle demonstrates her special technique:

Ta-da! You now have beautiful rolags to spin!

 How to Make Rolags With a Strauch Drum Carder

We’d love to see what you’re making with Strauch products – share them with us on Instagram and don’t forget to tag your post with #strauchfiber!

Like this post? Pin it!

 How to Make Rolags With a Strauch Drum Carder


Posted in Carding, Tutorial | Tagged , , , | Leave a comment