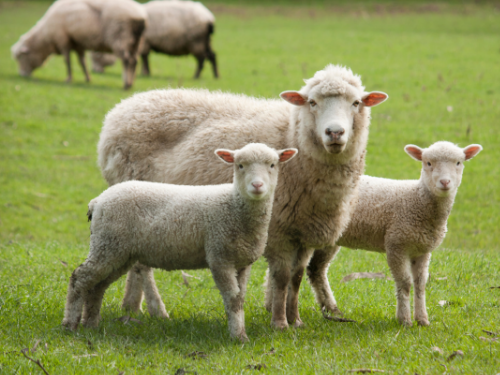
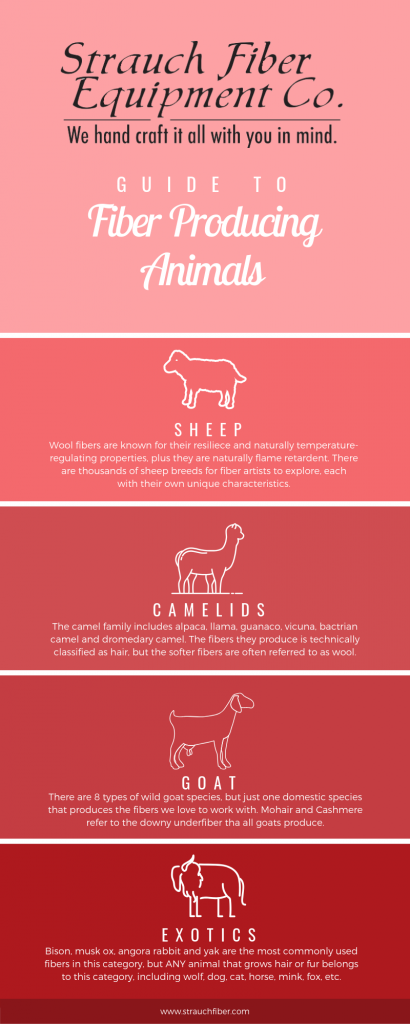
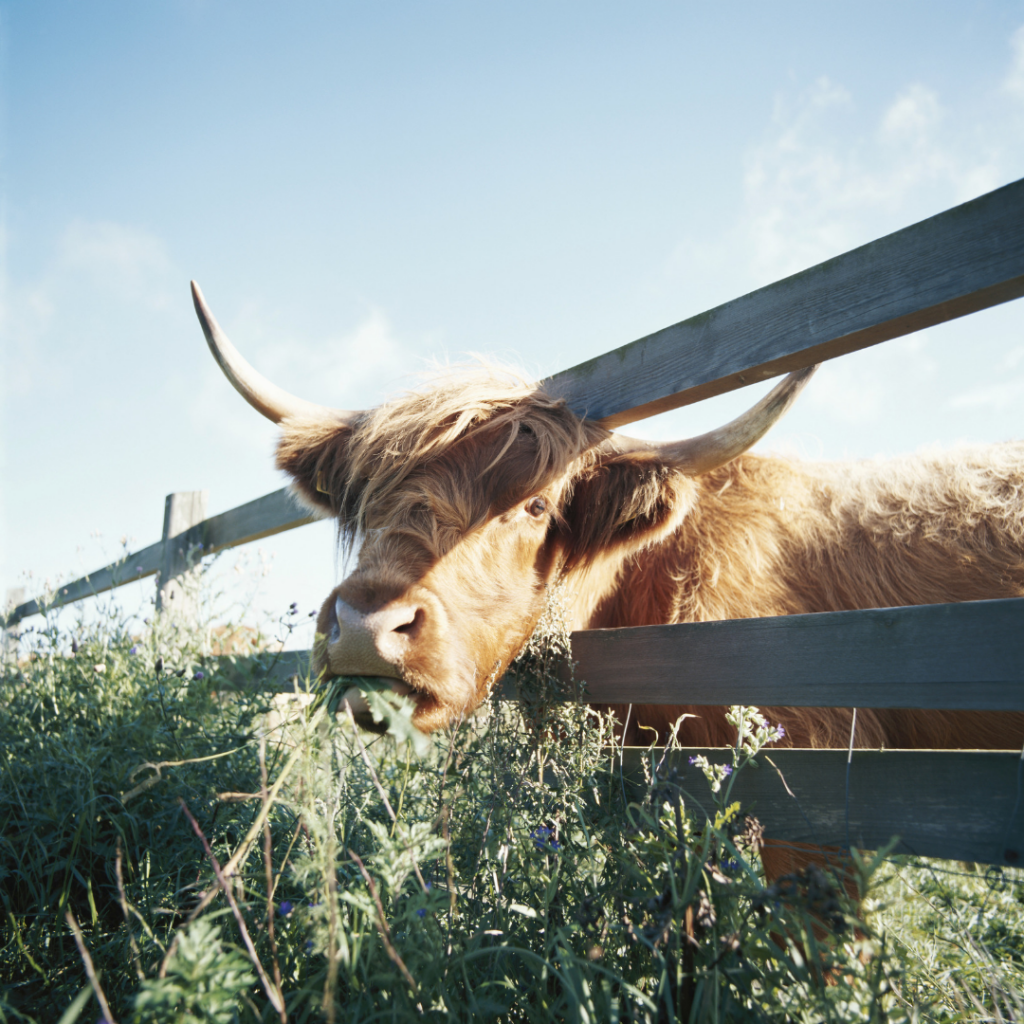
Don’t get us wrong – we love wool and learning about the many breeds of sheep that grow beautiful fleece for us to enjoy. But when it comes to staying warm during the chilly months ahead, there are several non-sheep fibers that surpass the warmth and thermal regulating properties of even our most favorite wools.
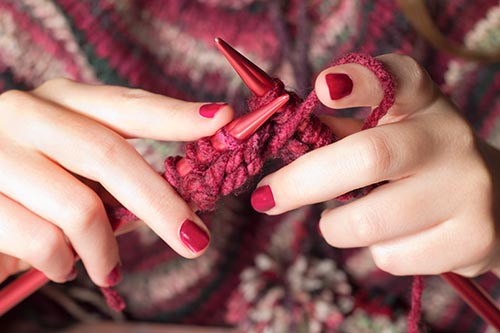
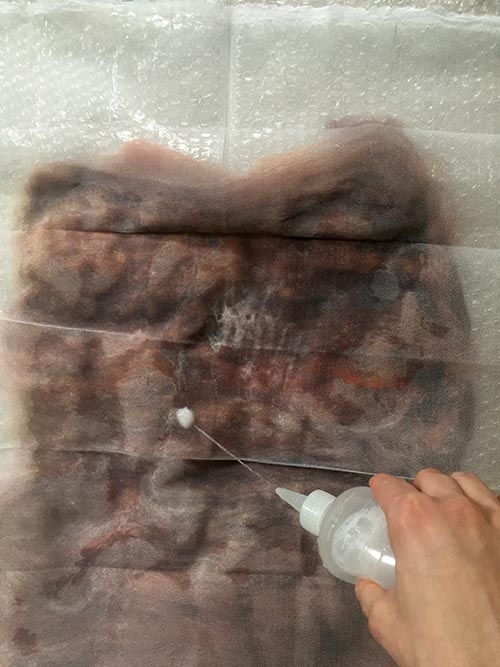
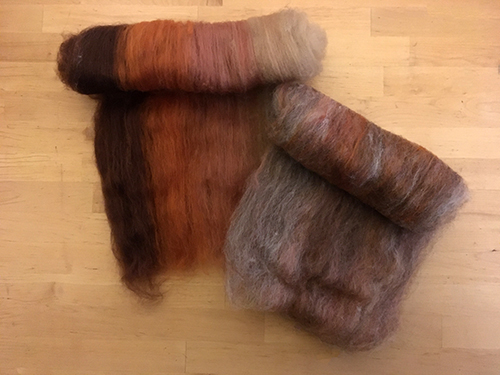
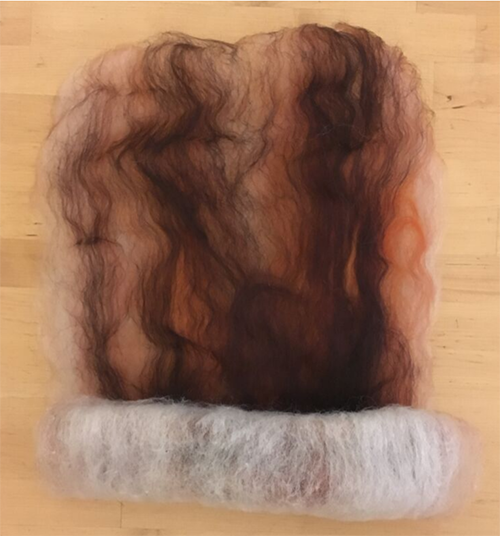
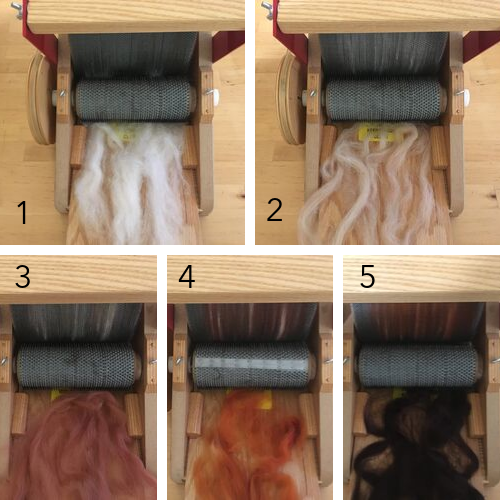
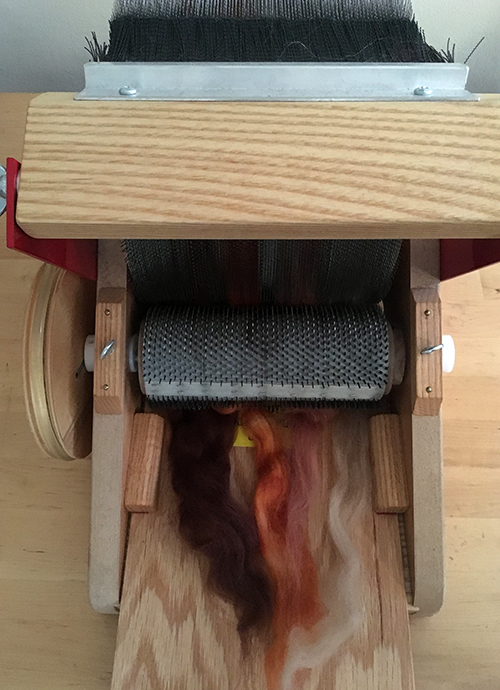
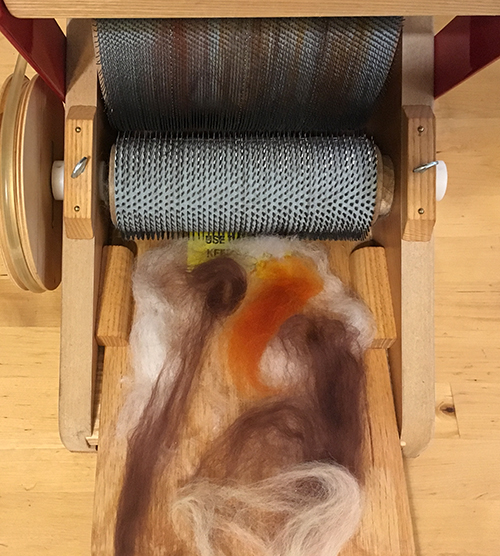
Some of these fibers are rarer, more costly, or perhaps even challenging to work with than wool fibers you might be accustomed to, but don’t worry – you can always blend them with your favorite wool on a Strauch Drum Carder (we recommend the Finest) to create your own unique combination.
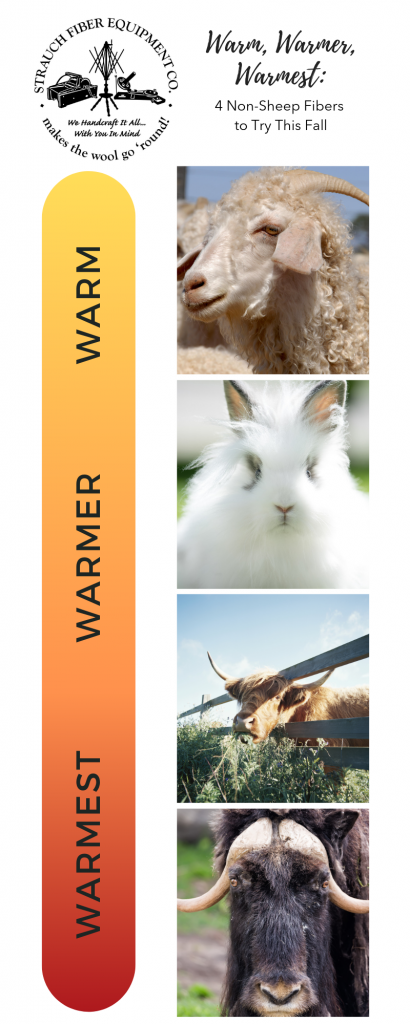
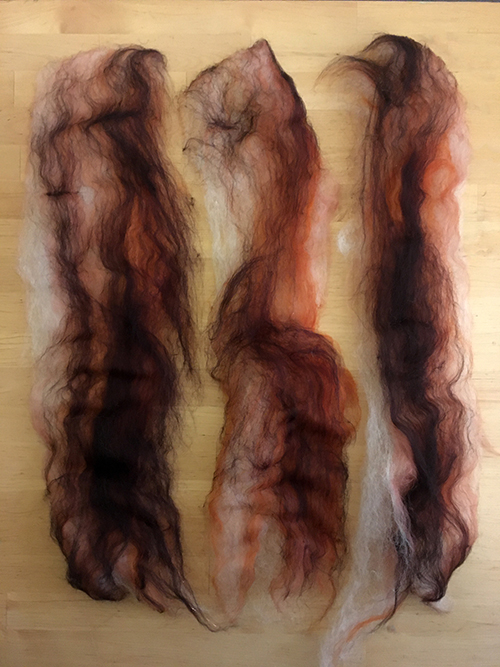
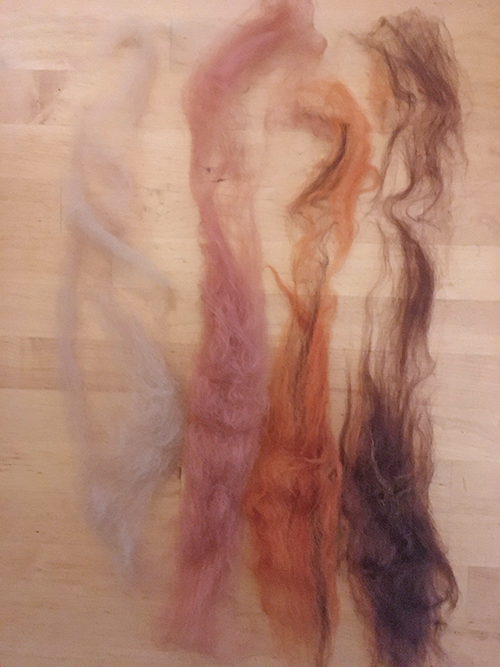
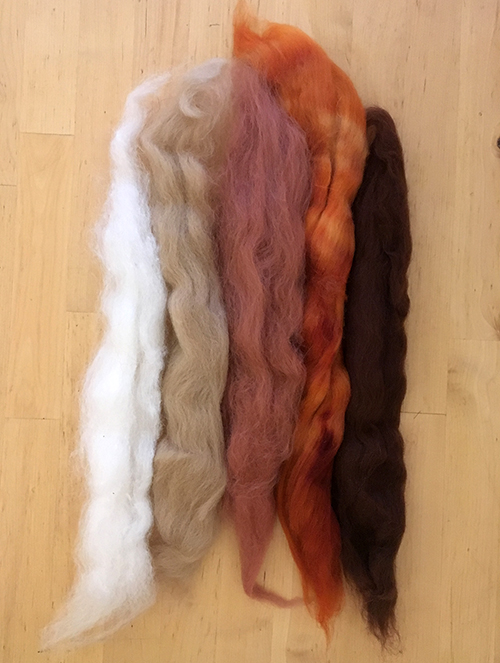
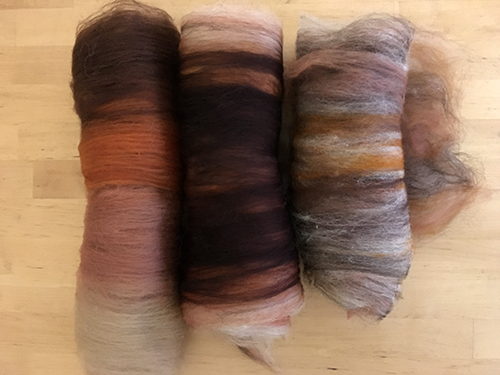
Here are our our top 4 non-sheep fibers to try this fall, in order of warm, warmer and warmest!
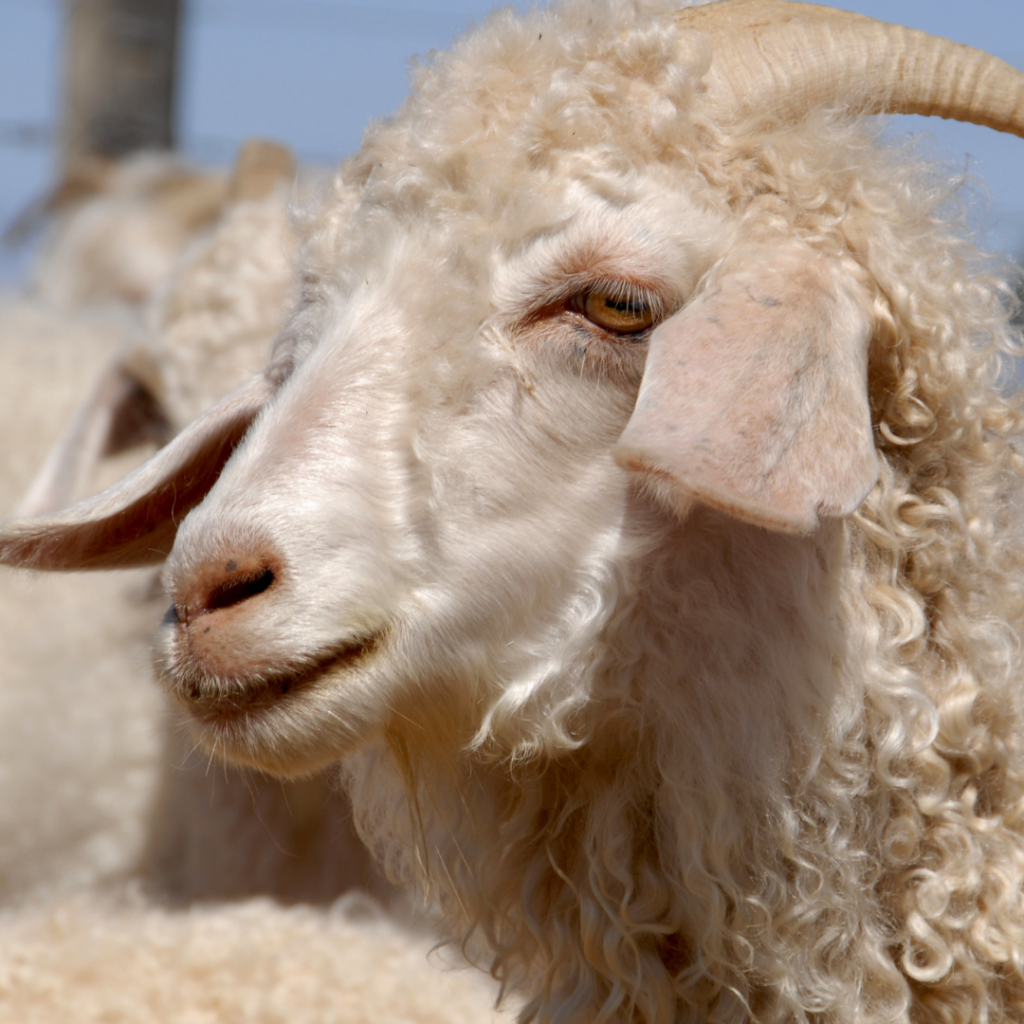
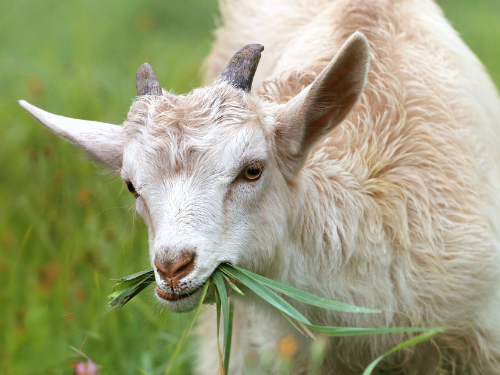
Mohair
Forget about those hairy sweaters from the ’80’s – today’s mohair is incredibly soft with a lustrous sheen! There are 8 types of wild goat species, but just one domestic species that produces the fibers we love to work with – the term Mohair is an Arabic word meaning “choice” or “select” and refers to the downy underfiber that all goats produce, rather than a specific breed of goat.
These animals are dual coated, meaning that they produce two types of fibers: the long, coarse guard hairs that protect the downy undercoat that is prized for its softness and insulating qualities. While all mohair fiber is sleek and shiny with excellent drape, there is a wide range in fiber quality that is best grouped into three major categories:
- Kid mohair: The finest, softest fibers grown by very young goats and typically only assigned to the first shearing. These fibers are comparable to Merino.
- Yearling mohair: The midrange in terms of softness, these fibers are from a goat that is 1 year old, as the name would imply. While these fibers are still quite fine, they are more similar to a mid-range wool.
- Adult mohair: These fibers are as the heaviest and most coarse, but are also the most durable of the three fiber types.
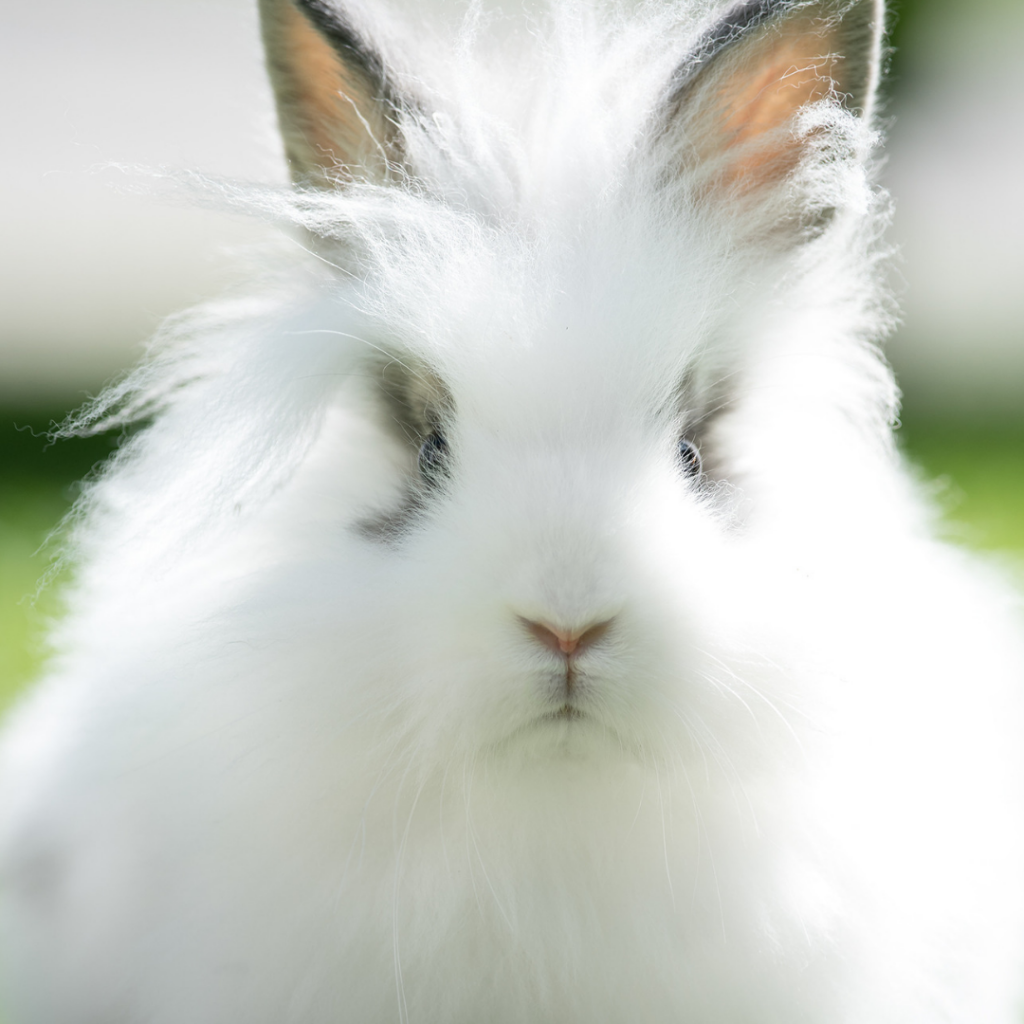
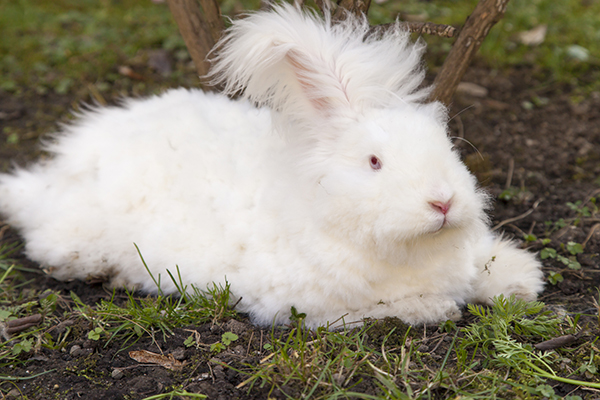
Angora
Fibers from angora rabbits are not simply soft and fluffy, they are also lightweight, yet incredibly warm. If you crave the softness of cashmere for a fraction of the price, give angora a try!
There are 3 general classes of rabbits: French, English and German. All rabbits grow three types of fibers: the strong, straight erector hair, the awn, which is a slightly finer protector hair, and the down, which is the soft crimped down found closest to the skin.
While we strongly recommend washing just about any other fiber type before carding or spinning, it is actually better NOT to wash angora fibers before working with them to avoid creating unmanageable clumps of fiber, as angora fibers felt quite easily. We also recommend dyeing angora fiber after you have finished spinning or felting with it, rather that prior to, for the same reasons.
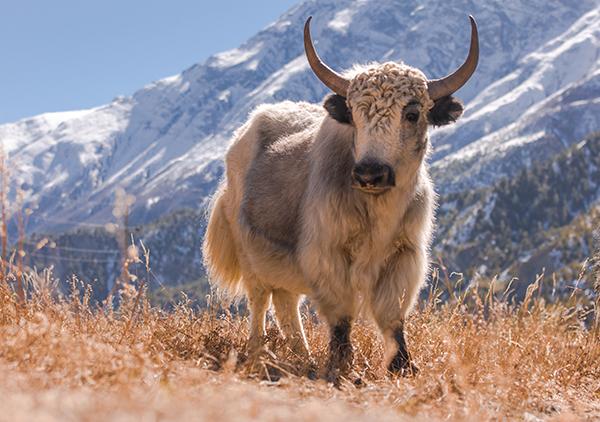
Yak
These hardy animals are native to the Himalayan region, where they withstand harsh weather conditions. As a result, their fiber is extremely warm and insulating – in fact, yak down is warmer than cashmere!
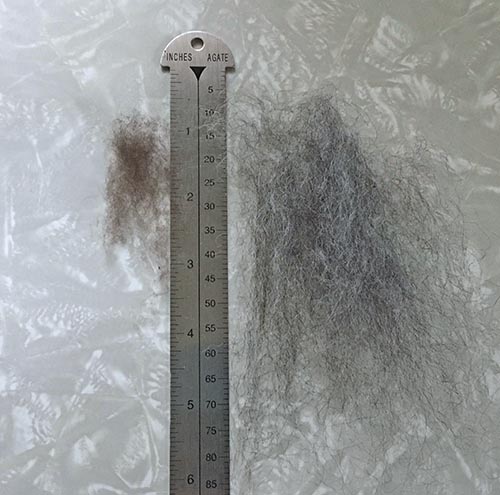
Yaks grow three types of fibers: a long outer coat of guard hair, a midrange coat, and a soft downy undercoat. All of these fibers are very strong – the outermost coat is known for making exceptionally sturdy rope, for example. While the midrange coat has many textile uses, it is the soft downy undercoat that fiber artists are most interested in. These fibers are typically quite short, with a staple length ranging between 1.25-2.25 inches, making it a challenge to work with: you’ll need enough twist to hold the yarn together, but not so much that the yarn becomes stiff or overspun.
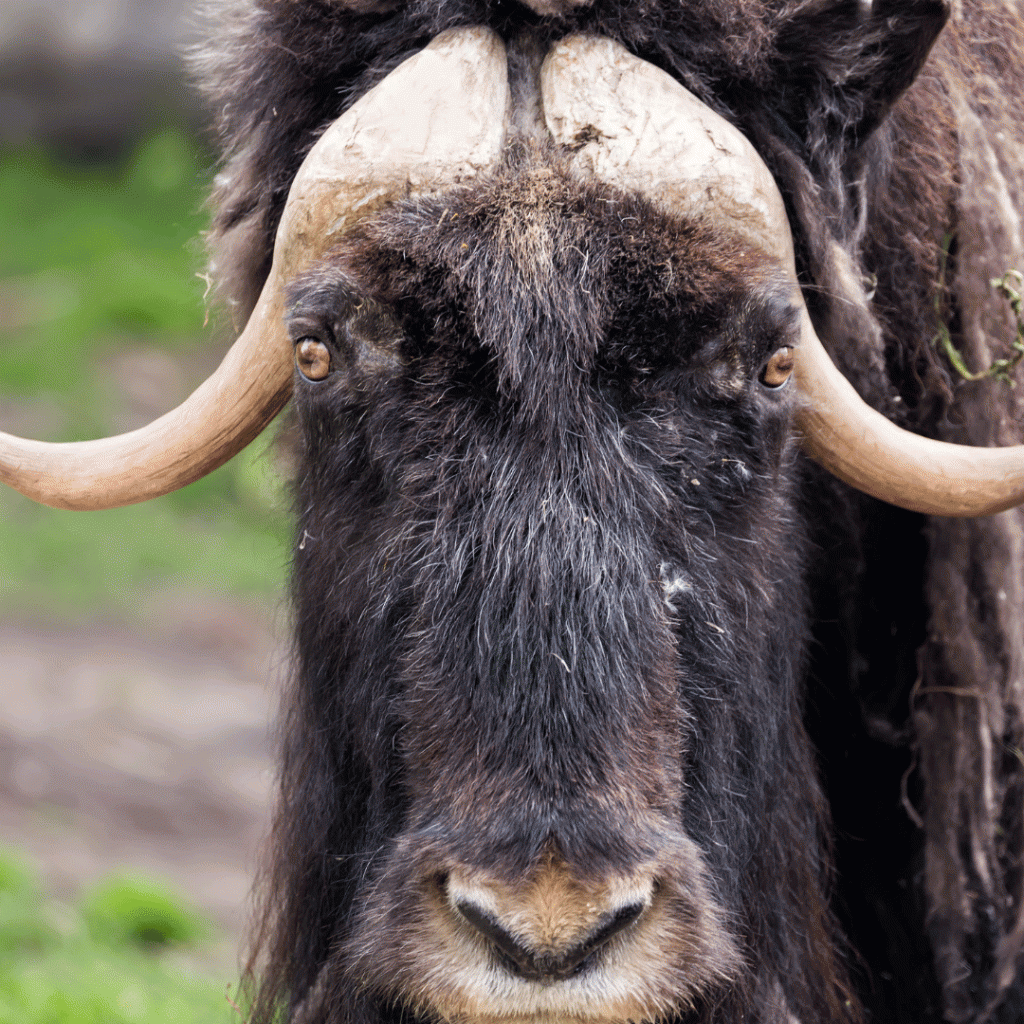
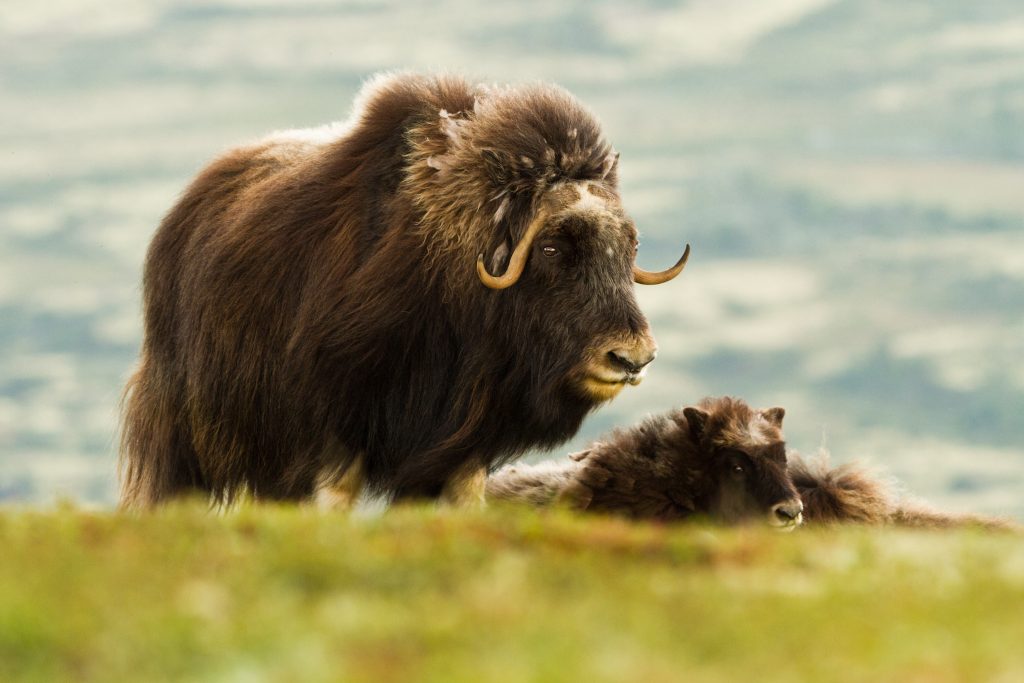
Qiviut
This ultra-luxurious fiber is the cadillac of the luxury fiber world. The term qiviut refers to the soft downy undercoat grown by Musk Oxen, animals which are native to arctic regions such as Alaska, Greenland and parts of Canada. These fibers are rare and costly, but the good news is that they blend extremely well with other fibers such as cashmere, merino wool, silk, or angora.
The very best qiviut fiber rivals that of the finest cashmere – it’s extremely soft, fine, and lightweight, with incredible insulating qualities. On top of that, it’s also quite sturdy, not to mention a great option for those with wool sensitivities.
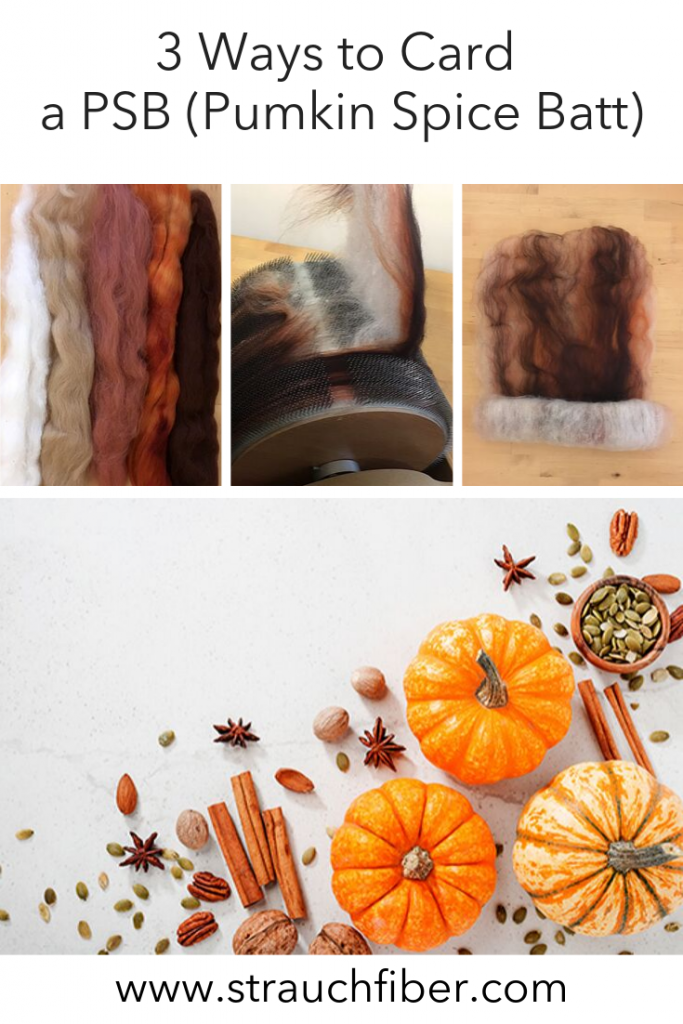
We hope you found this post helpful – make sure to pin it for future reference!