Fabulous Fall Fiber Events with Strauch

When the air turns crisp and there’s pumpkin spice everything, you know it’s time to start playing with fluff and fiber! Some of our favorite events happen in the fall, and they’re a great place to find new inspiration to keep your creative juices flowing all season long.

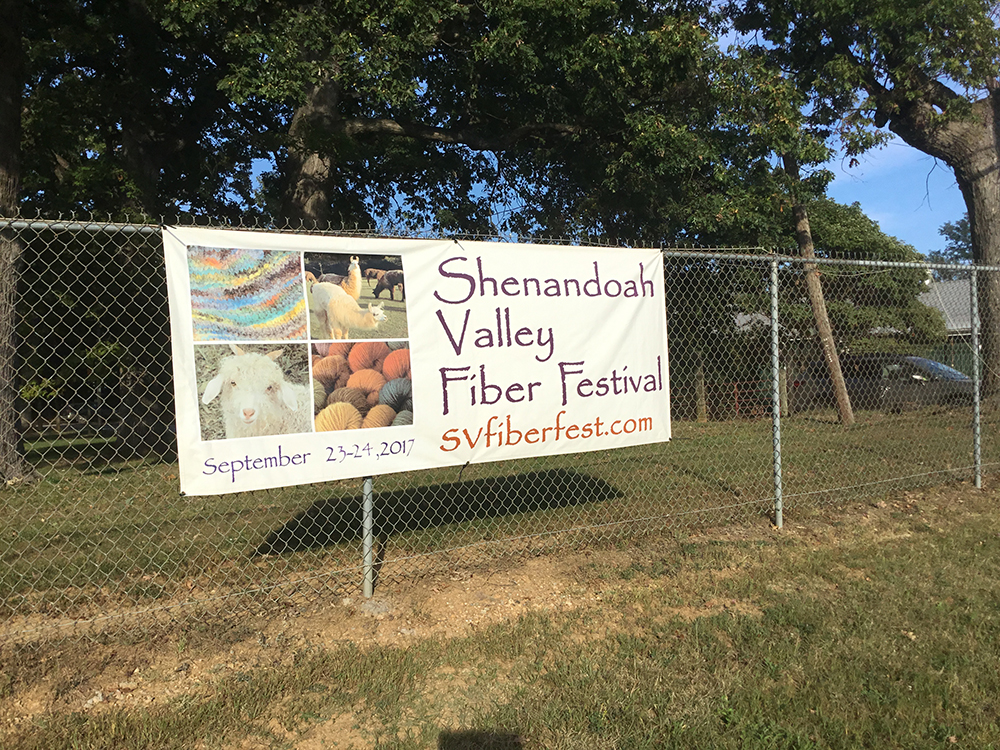
Last month, we were at the Shenandoah Valley Fiber Festival, held at the Clark County Ruritan Fair Grounds in Berryville, VA from Sept 24-25, 2017.

Shenandoah Valley Fiber Festival

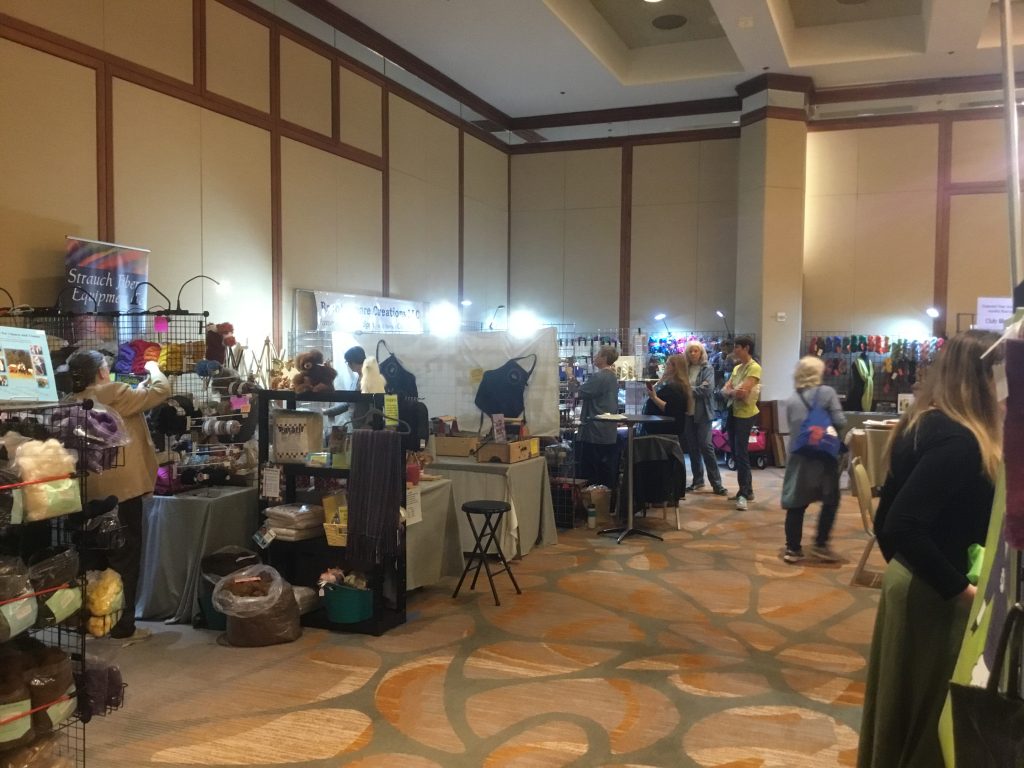
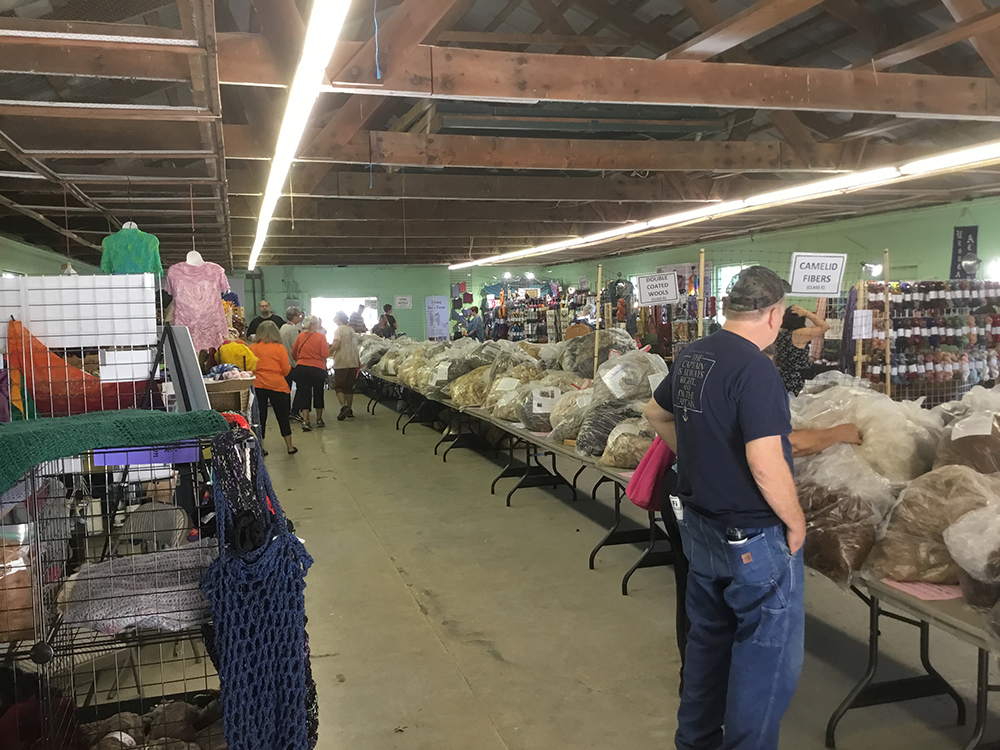
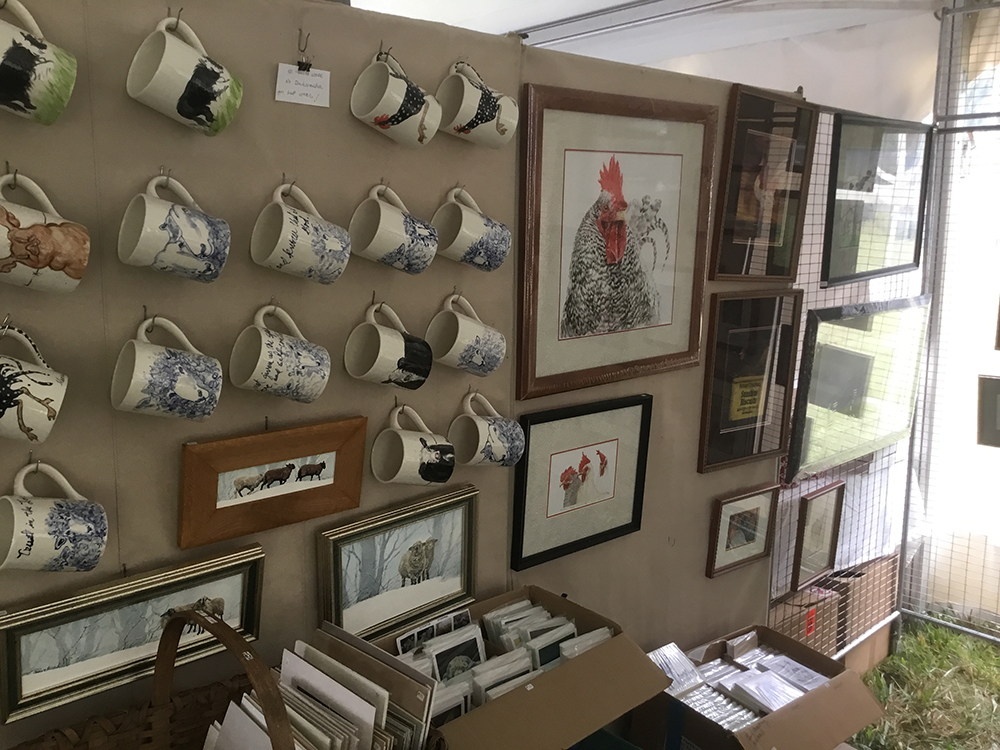
The Welcoming Tent was ready to help vendors and attendees, and there were plenty of enticing booths filled with fibers, yarns and other wonderful things.

IMG_1438 IMG_1458IMG_1532

The fleece judging competition is always worth checking out:

IMG_1454

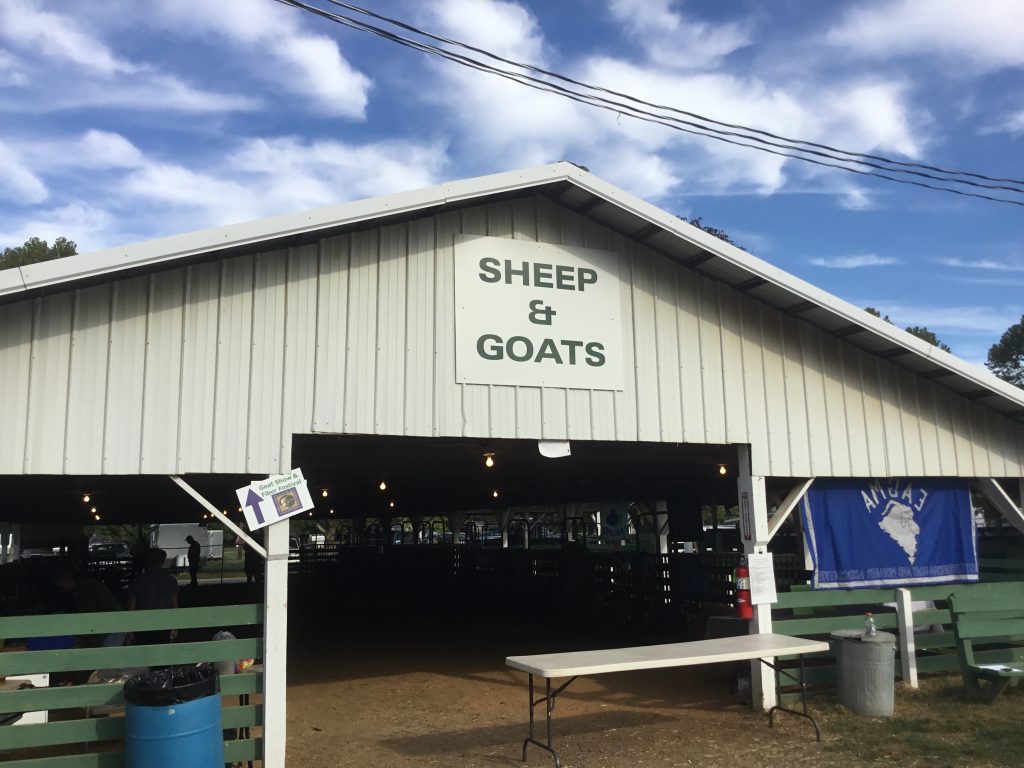
And visiting the animals whose fleece & fiber we enjoy so much also tops the list!

IMG_1447

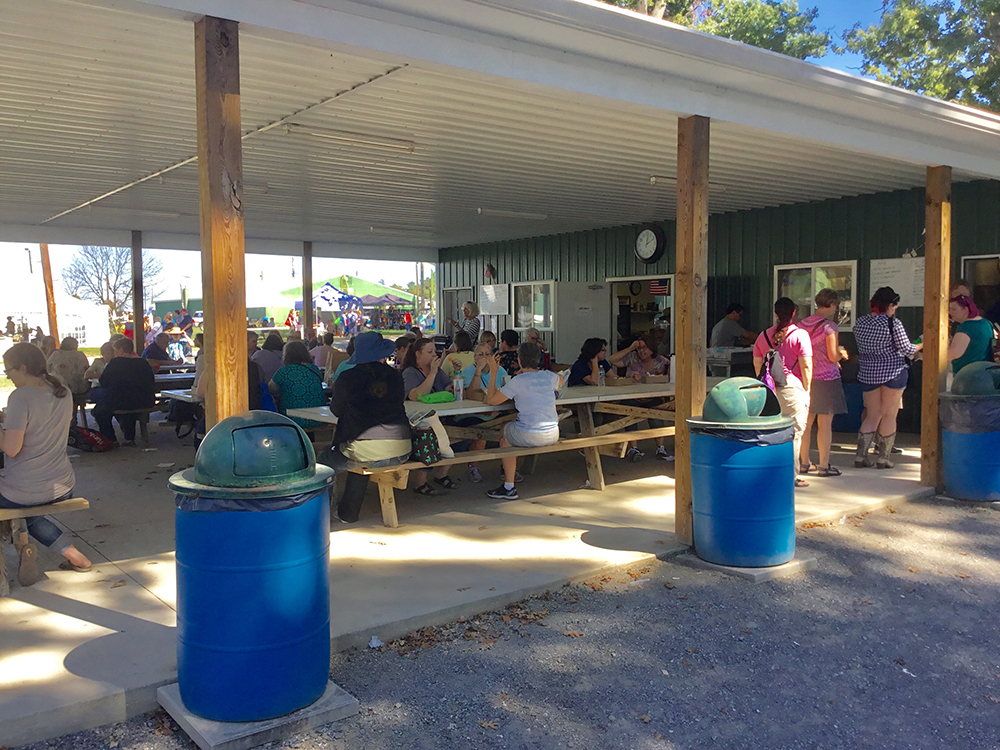
Don’t forget to take a lunch break!
IMG_E1457

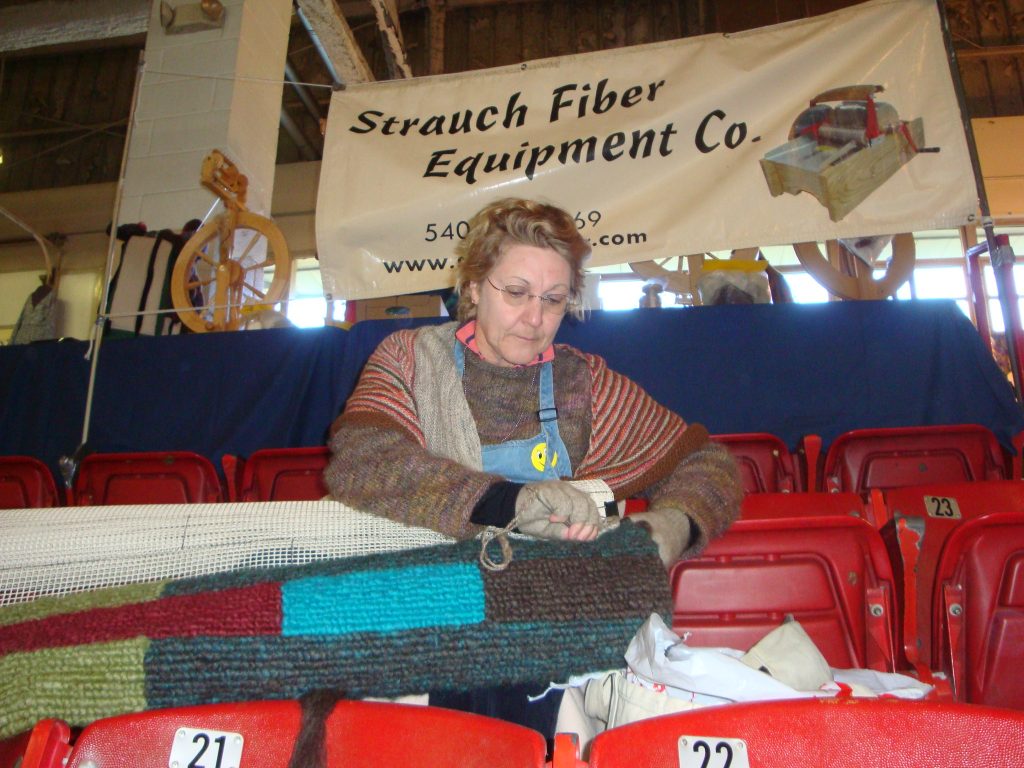
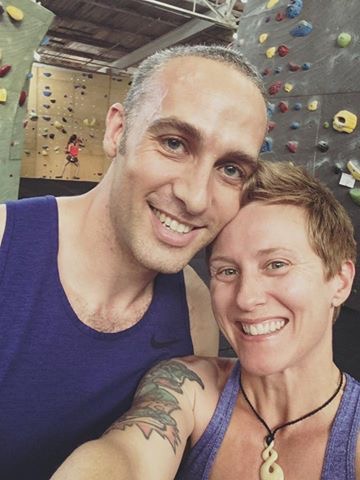
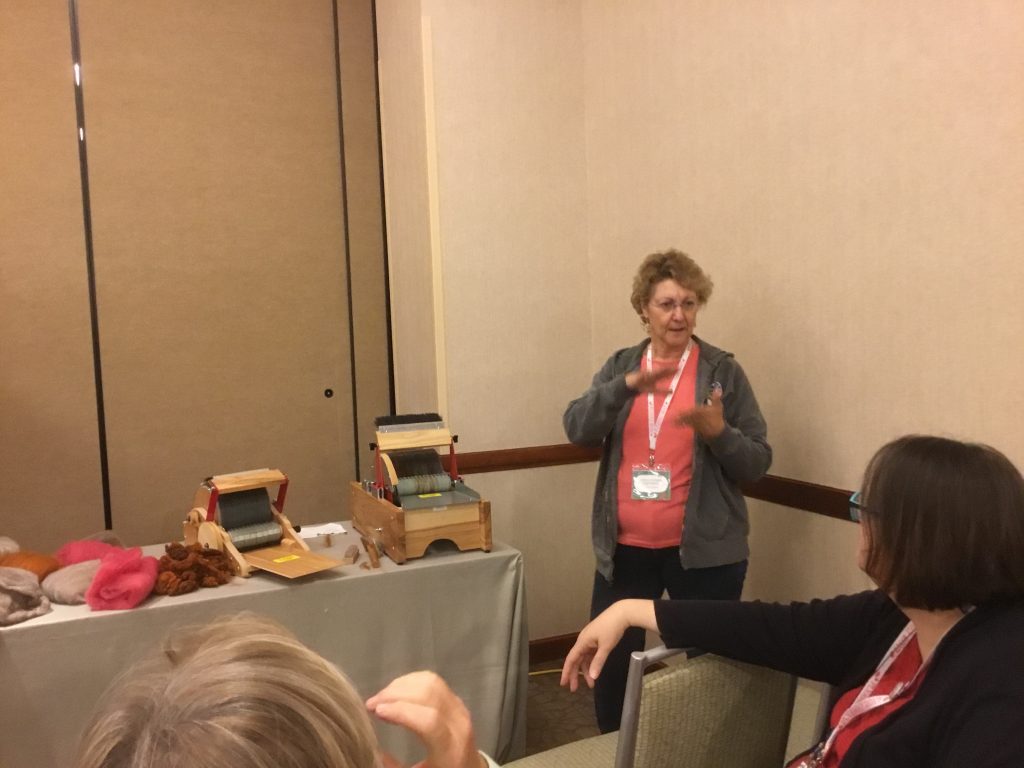
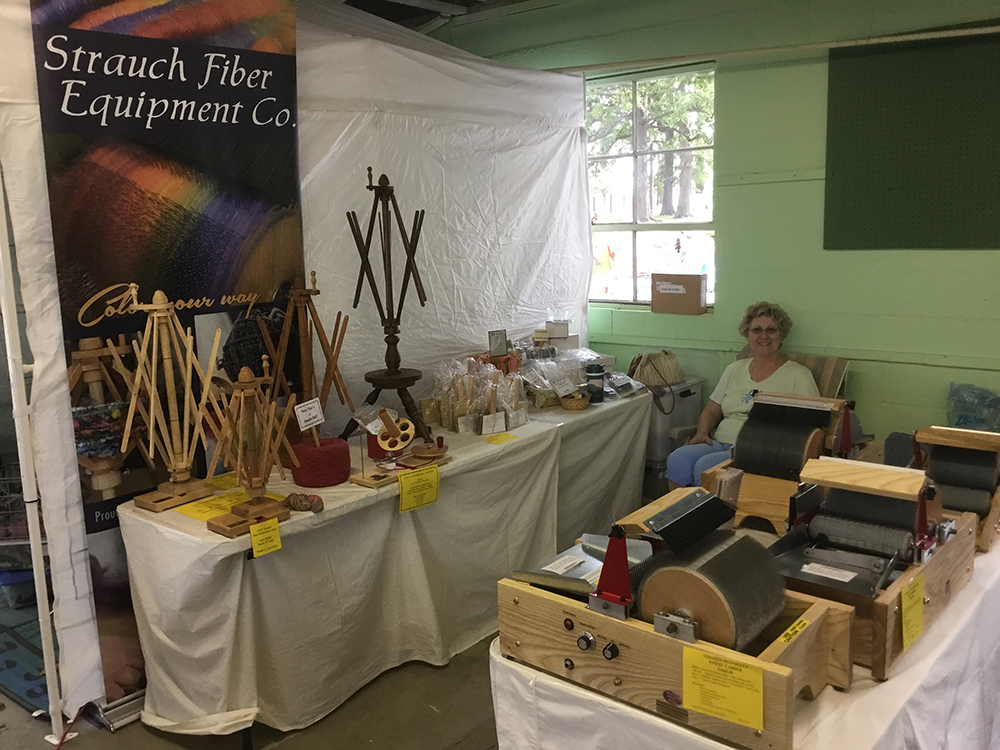
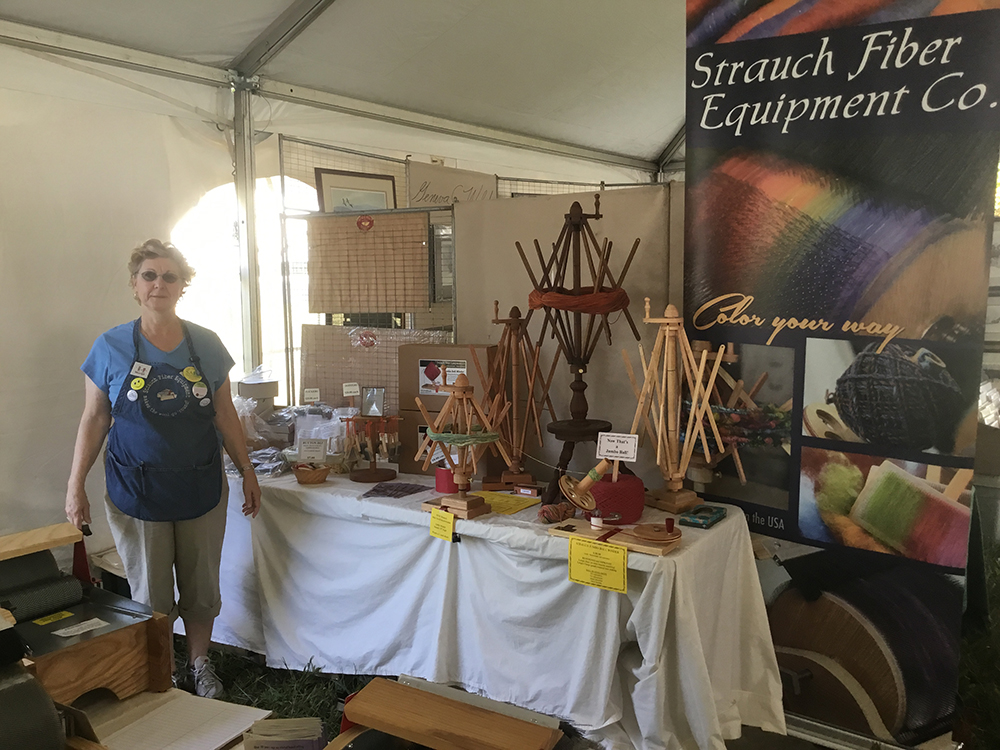
We managed to snap this photo of Joanne in our booth, ready to show visitors how to use our products before the gates opened for the day:

IMG_1431

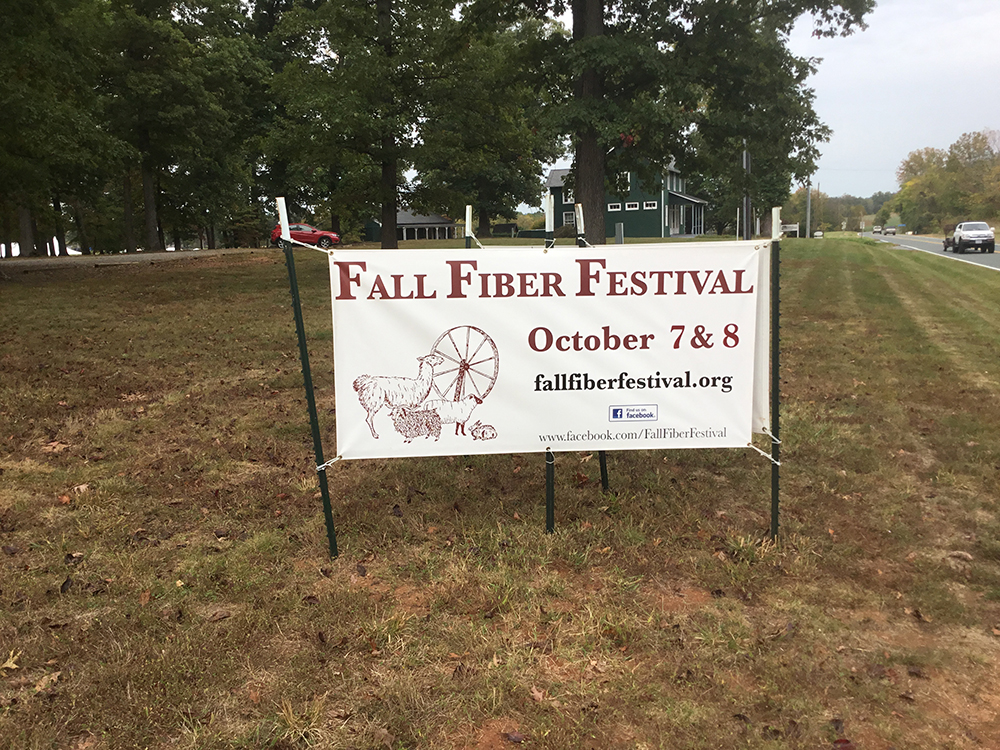
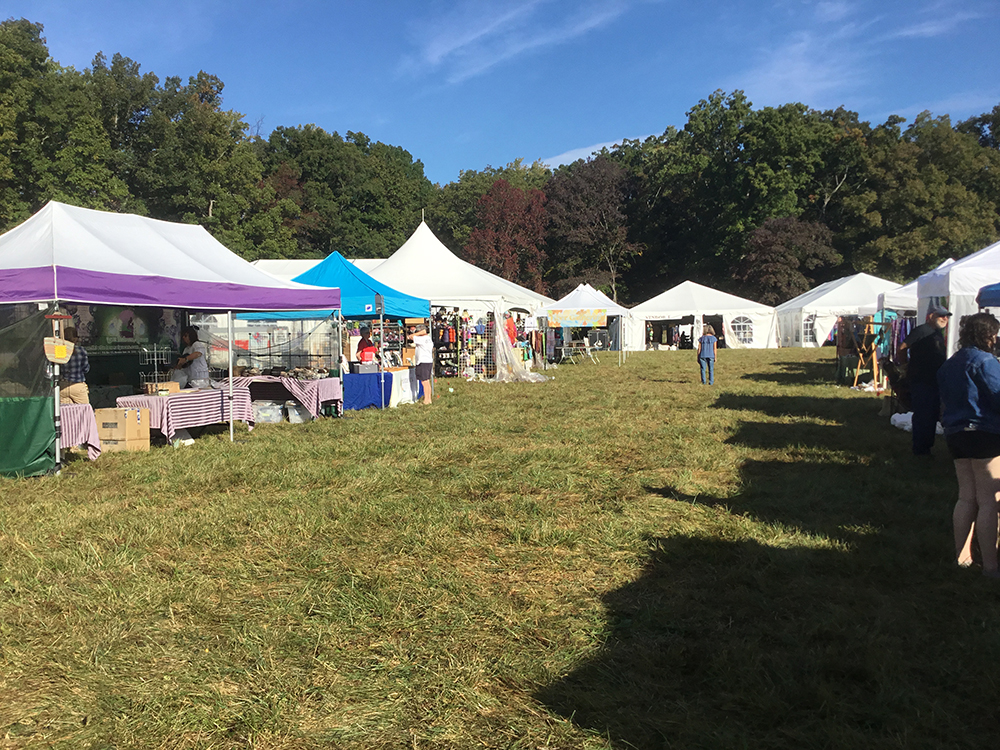
Our next event was the Fall Fiber Festival, which is held every year on the first weekend in October at James Madison Montpelier in Virginia.

IMG_1536

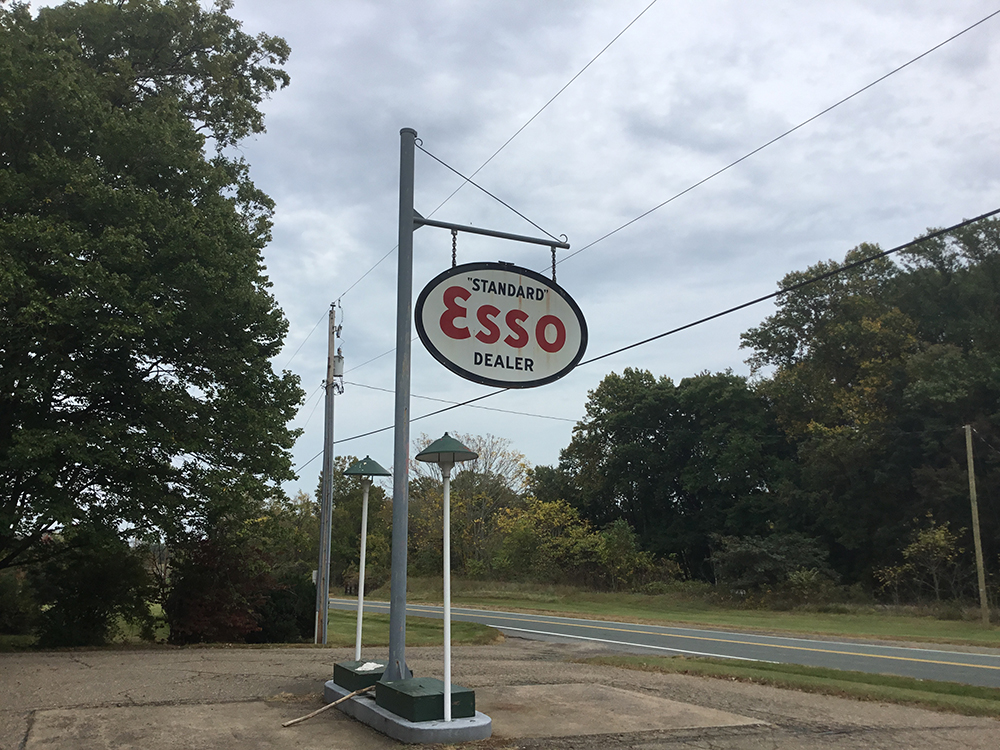
There’s a bit of nostalgia near the entrance to the fair grounds – does anyone recognize this sign? Any guesses on what the name of this company is today?

IMG_1535

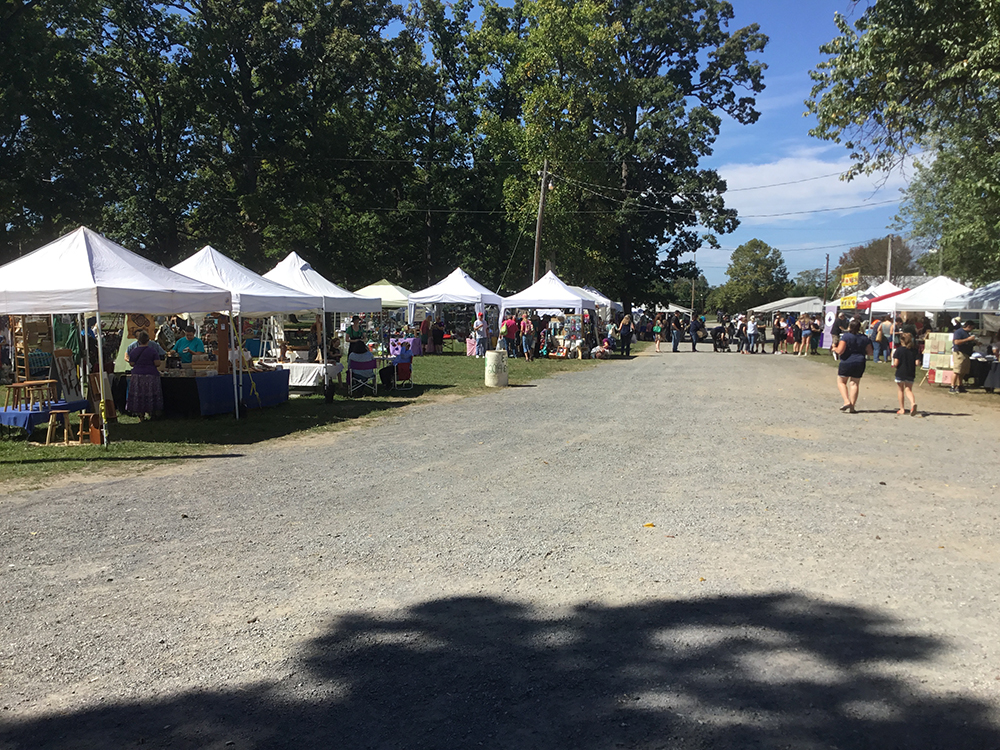
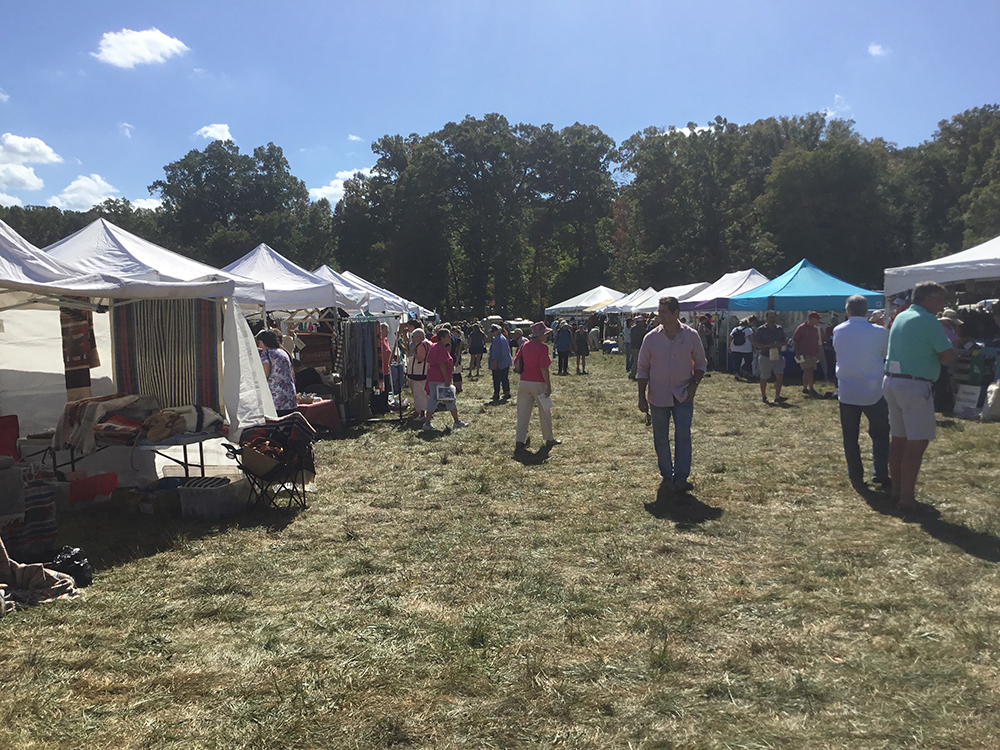
This time, were were fortunate to have a dry, grassy field for lots of vendor tents…and lots of fiber enthusiasts, too!

IMG_1487IMG_1497

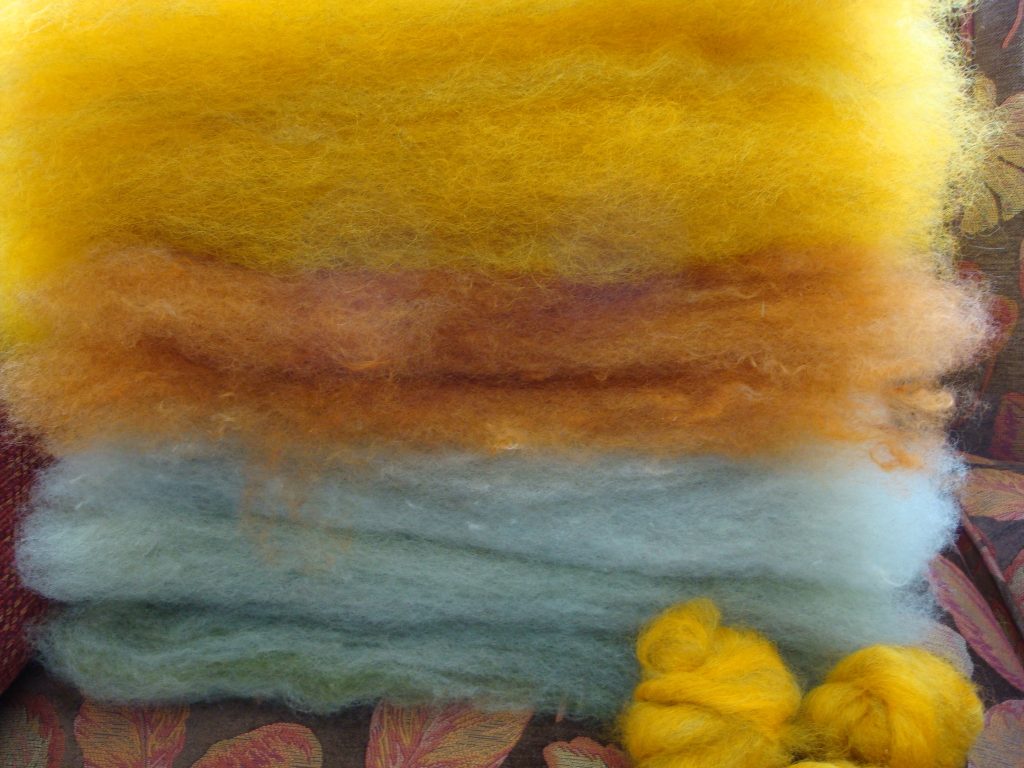
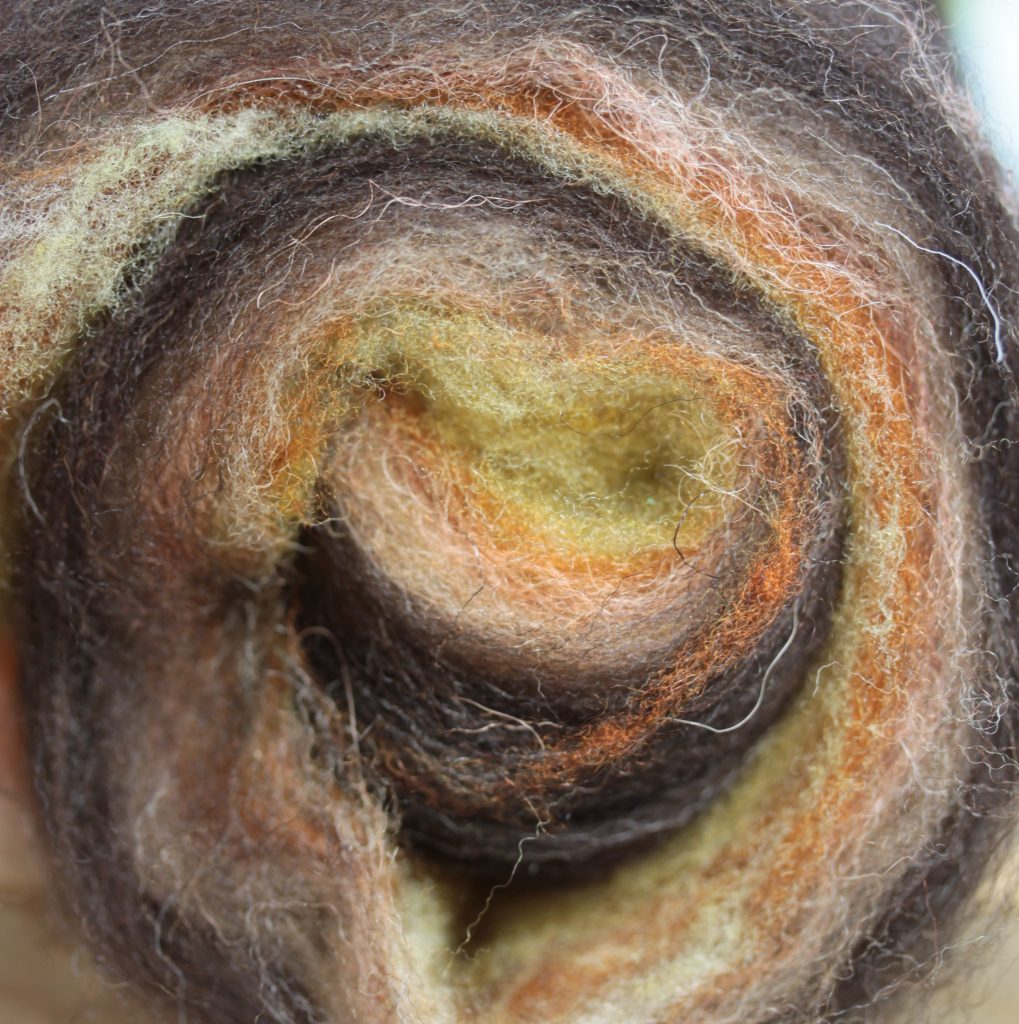
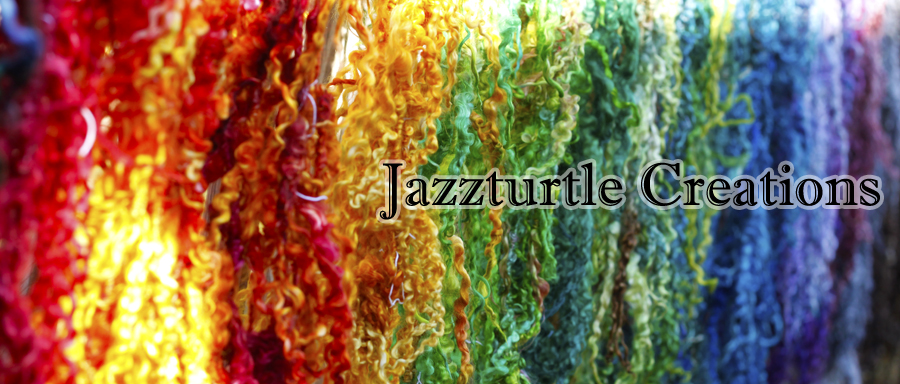
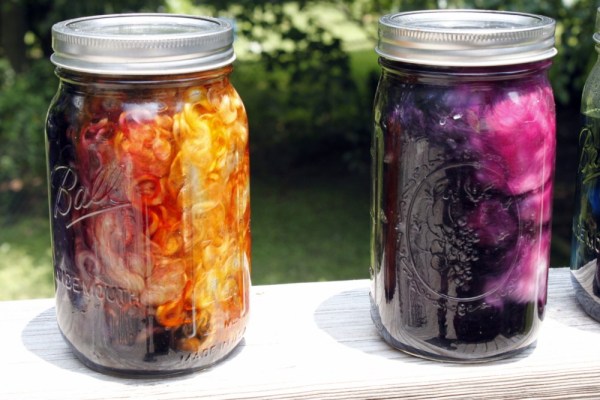
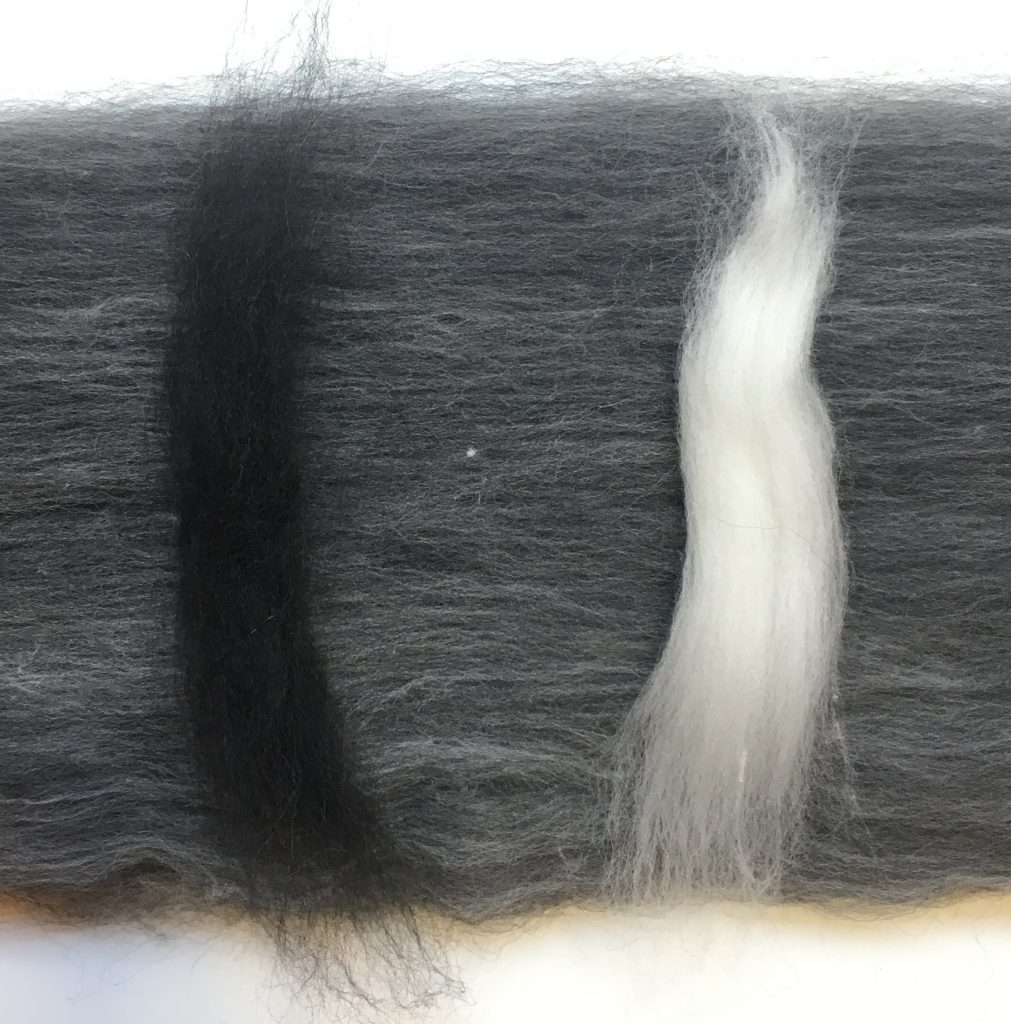
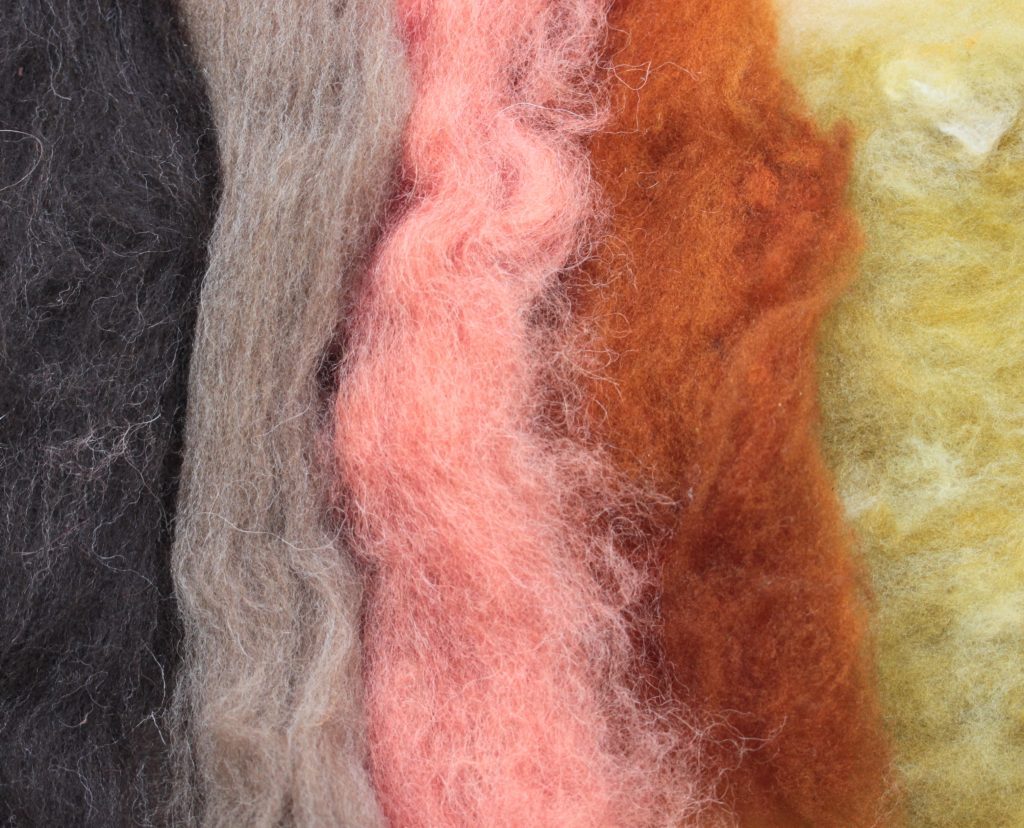
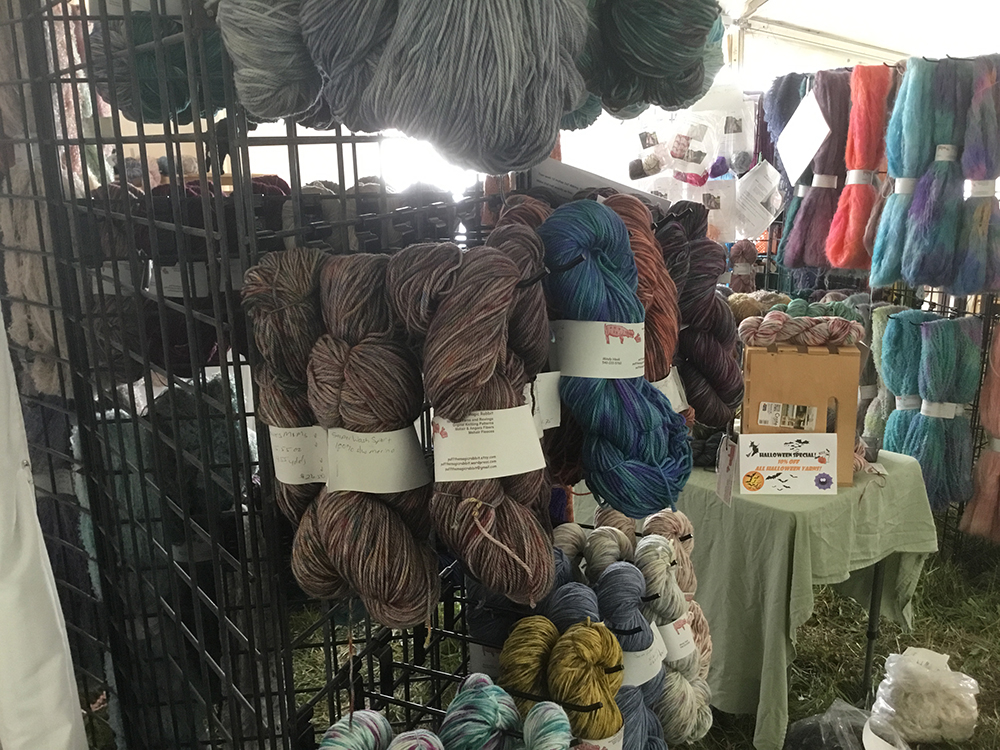
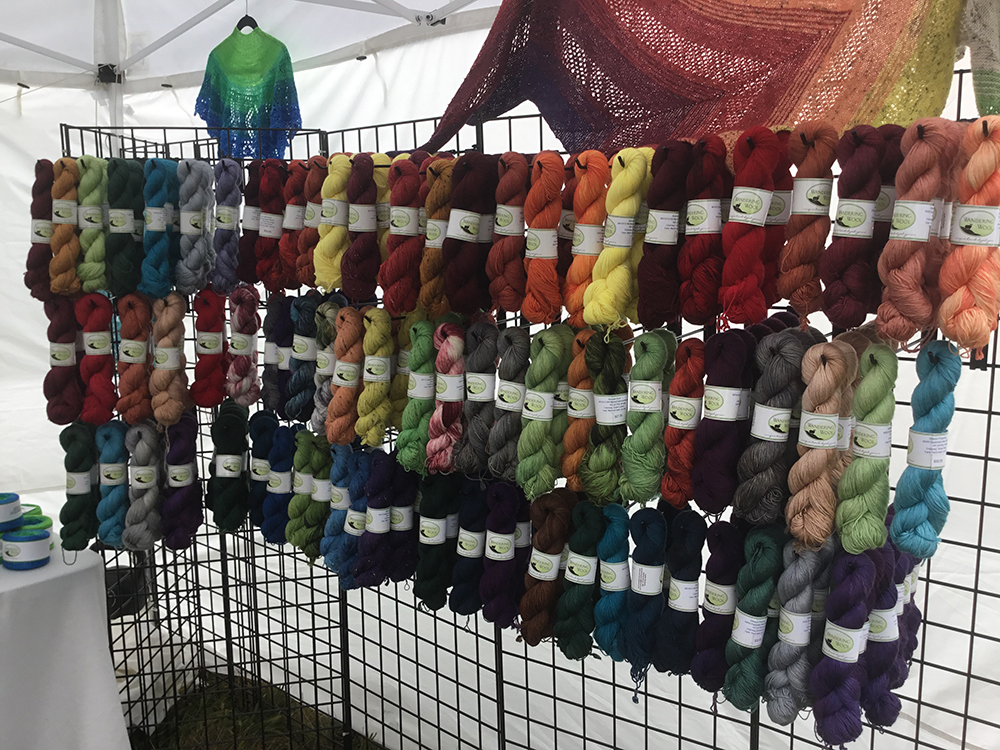
Of course, there’s plenty of eye-catching yarns and fibers to be found:

IMG_1520

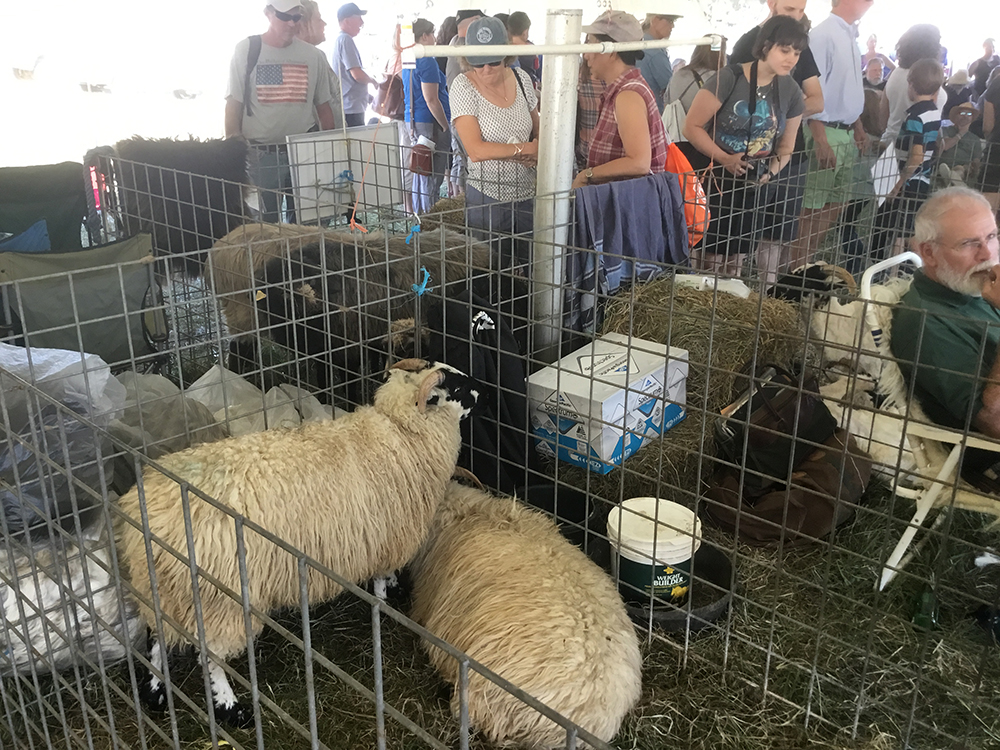
…but there’s also animals:
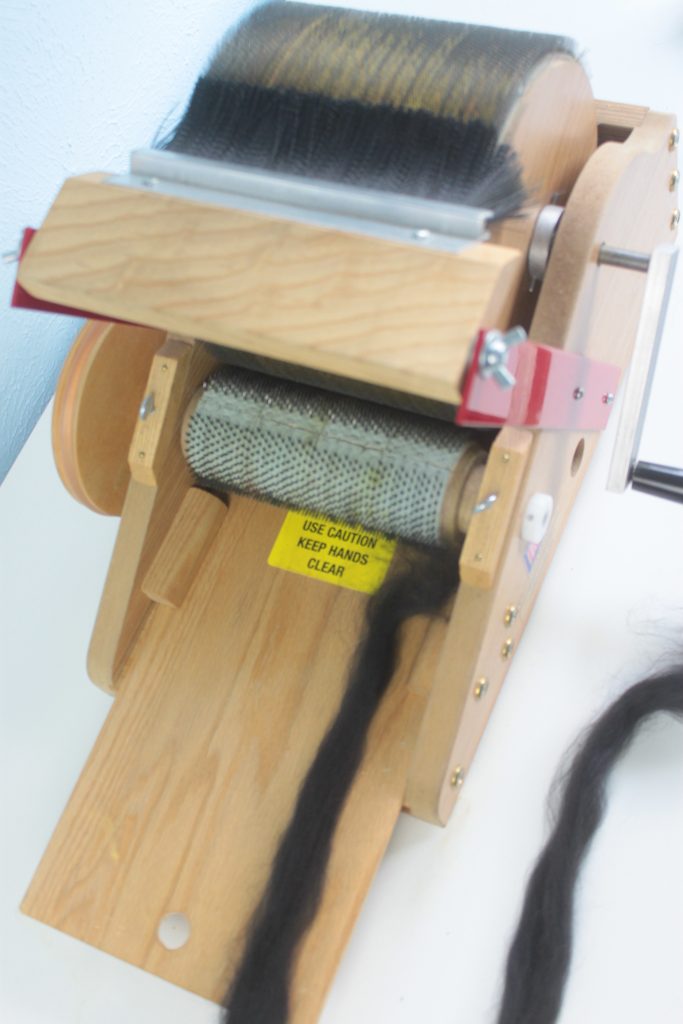
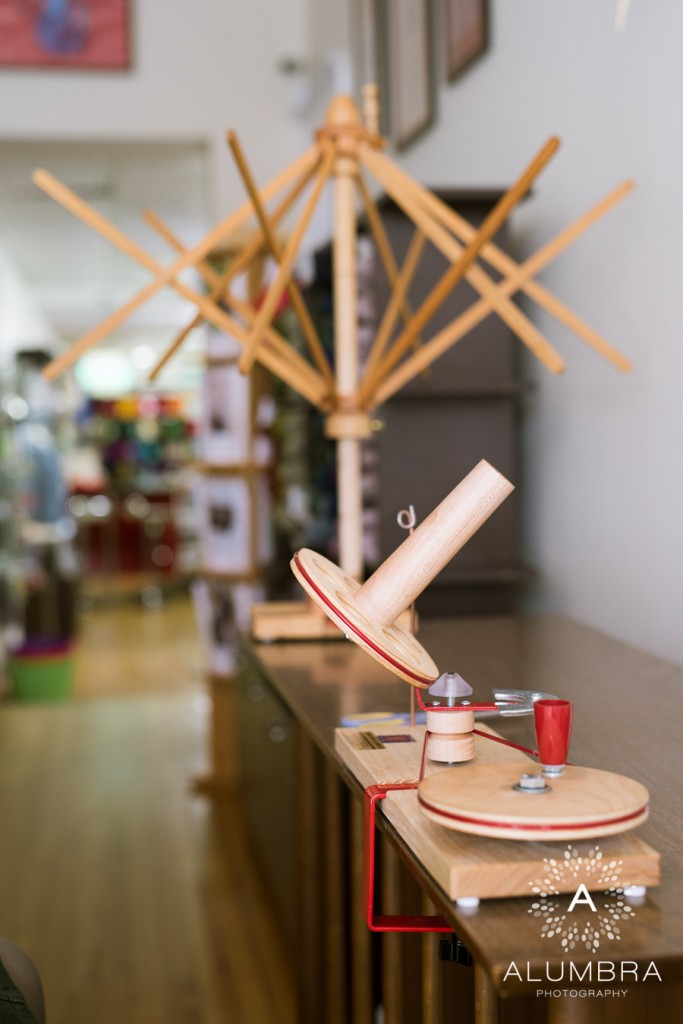
IMG_1508

…and fiber tools:

IMG_1531

…and general crafts:

IMG_1533

We are also ready!

IMG_1491

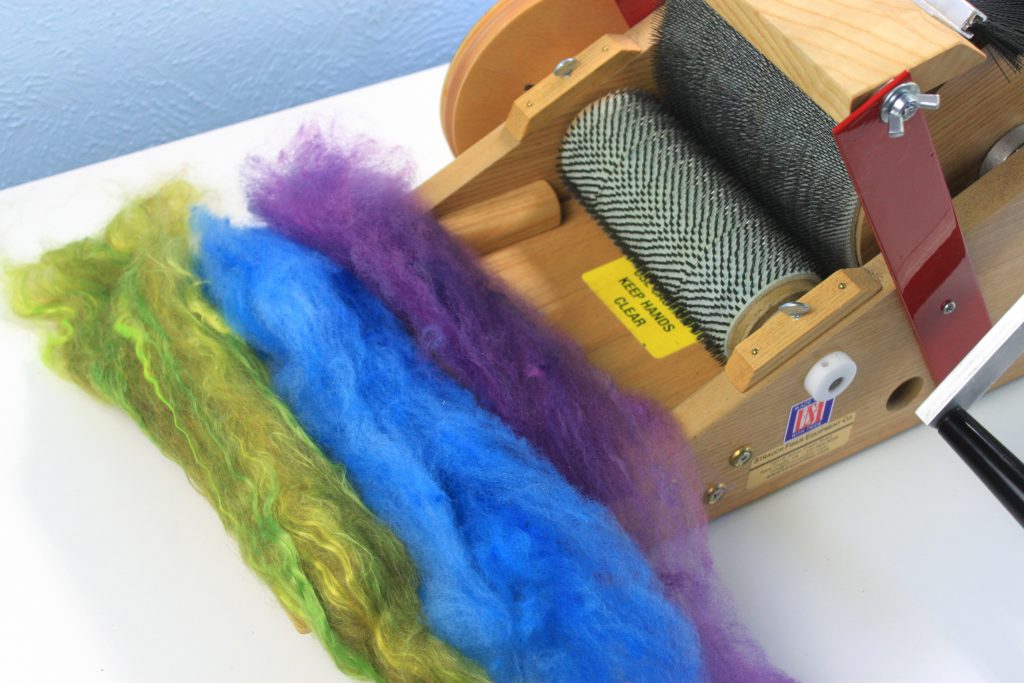
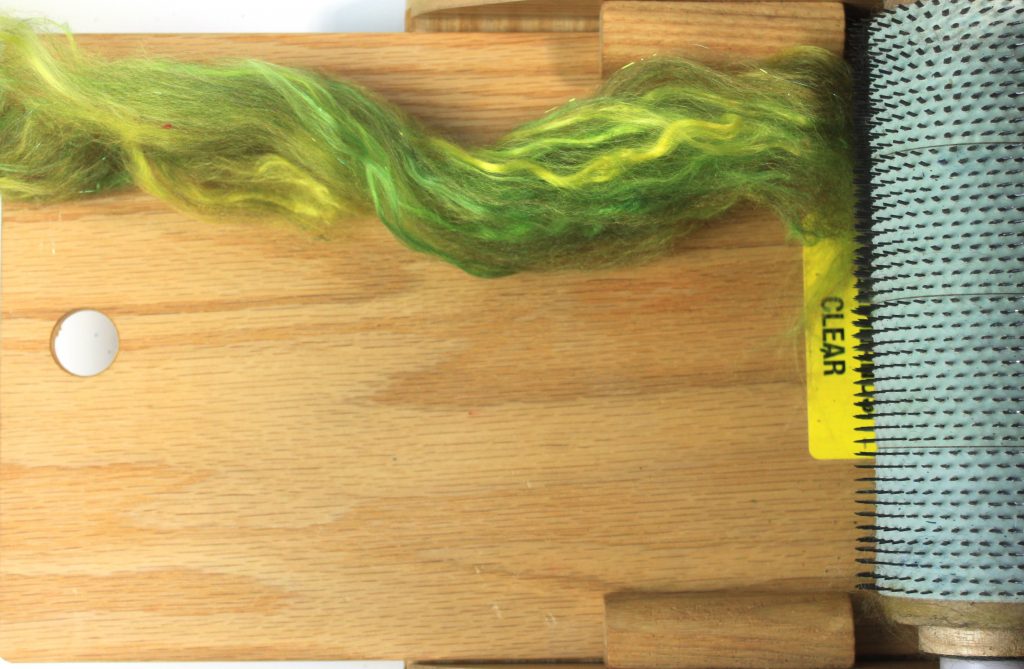
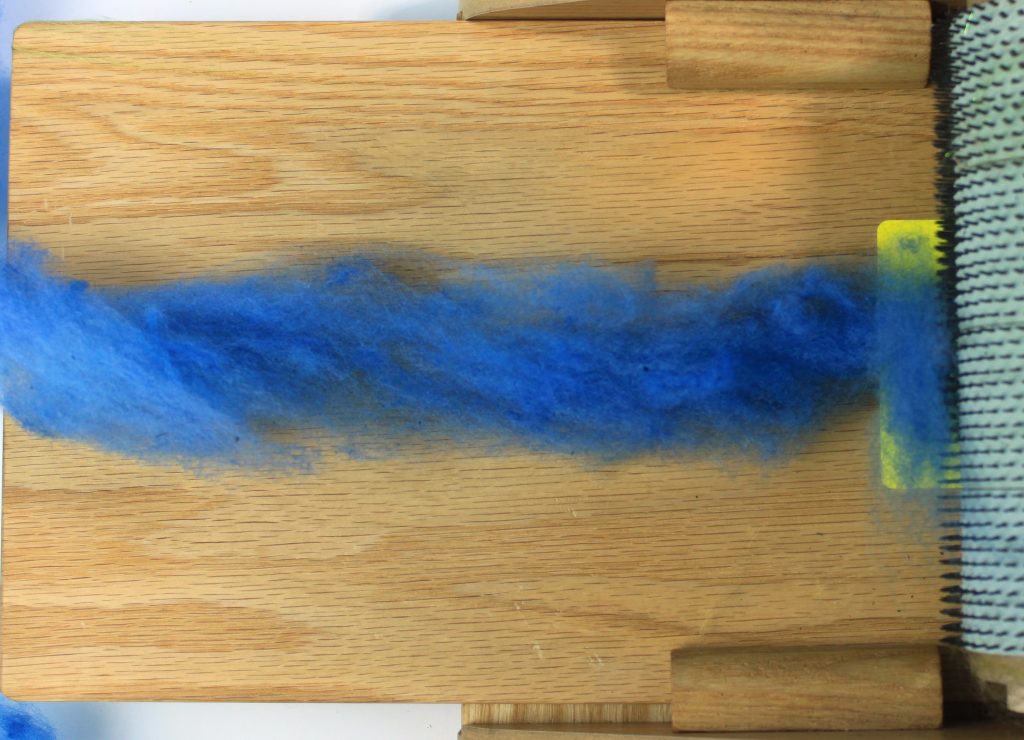
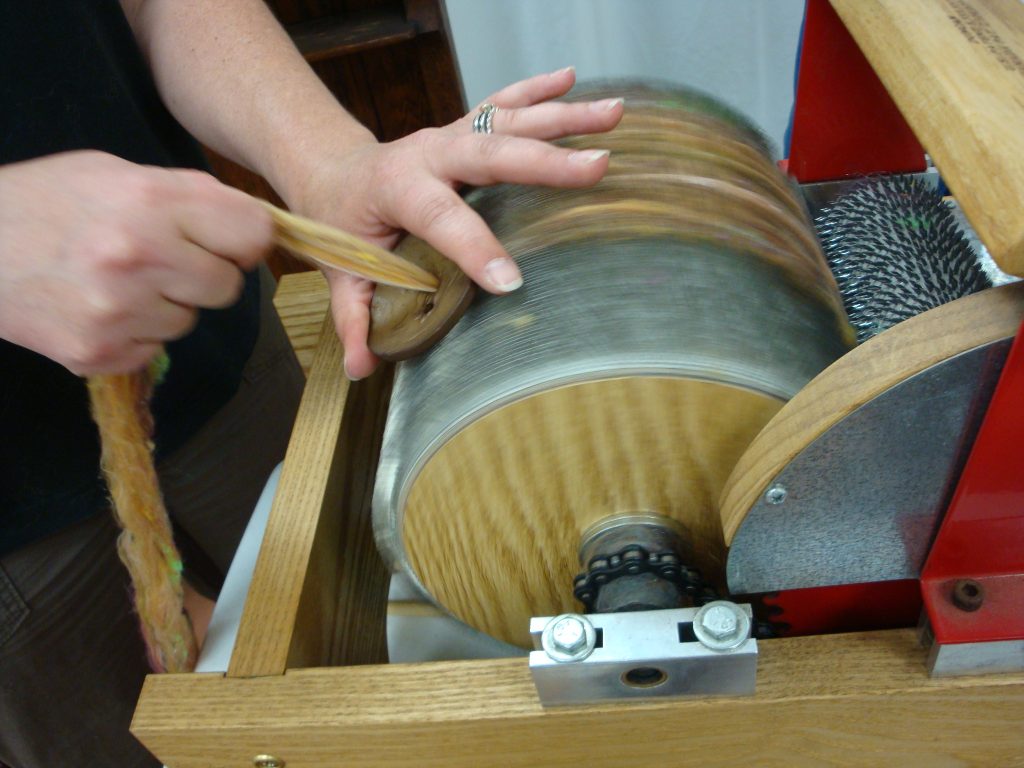
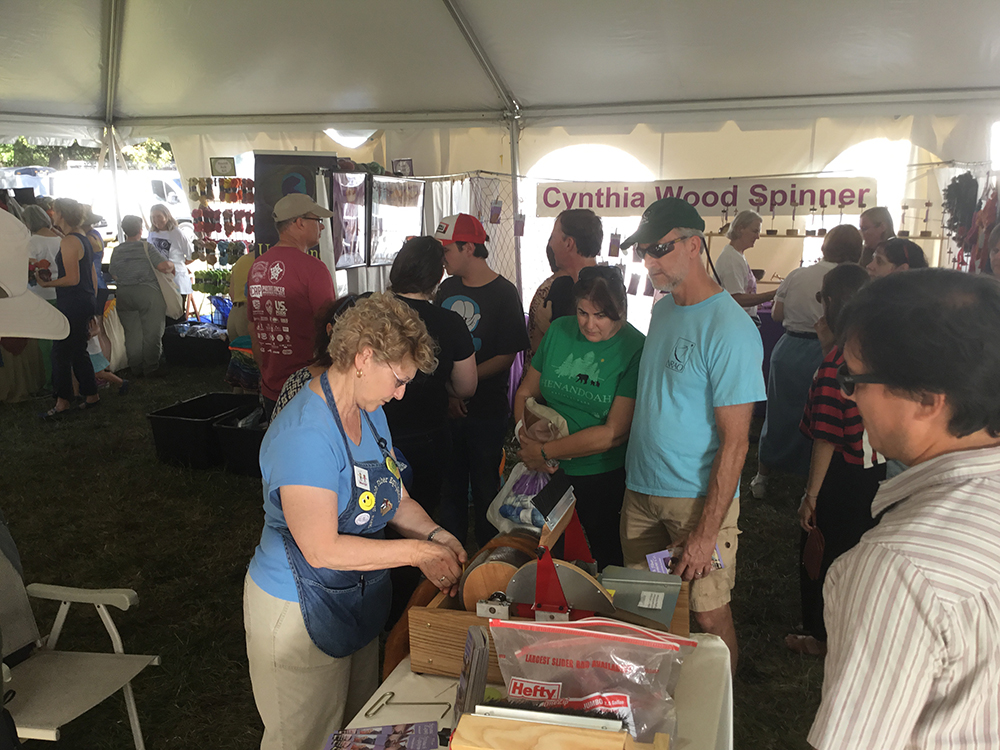
Folks want to see how beautifully our tools operate, and we are always delighted to comply.

IMG_1511

We have two more fiber shows for 2017, the New York Sheep & Wool Festival (also known as Rhinebeck) and the Southeastern Animal Fiber Fair (SAFF) – click here for more details on our site. We hope to see you there – be sure to stop by our booth to say hello or ask for a free demo. Feel free to also share a photo on Instagram using the #strauchfiber hashtag in your post!

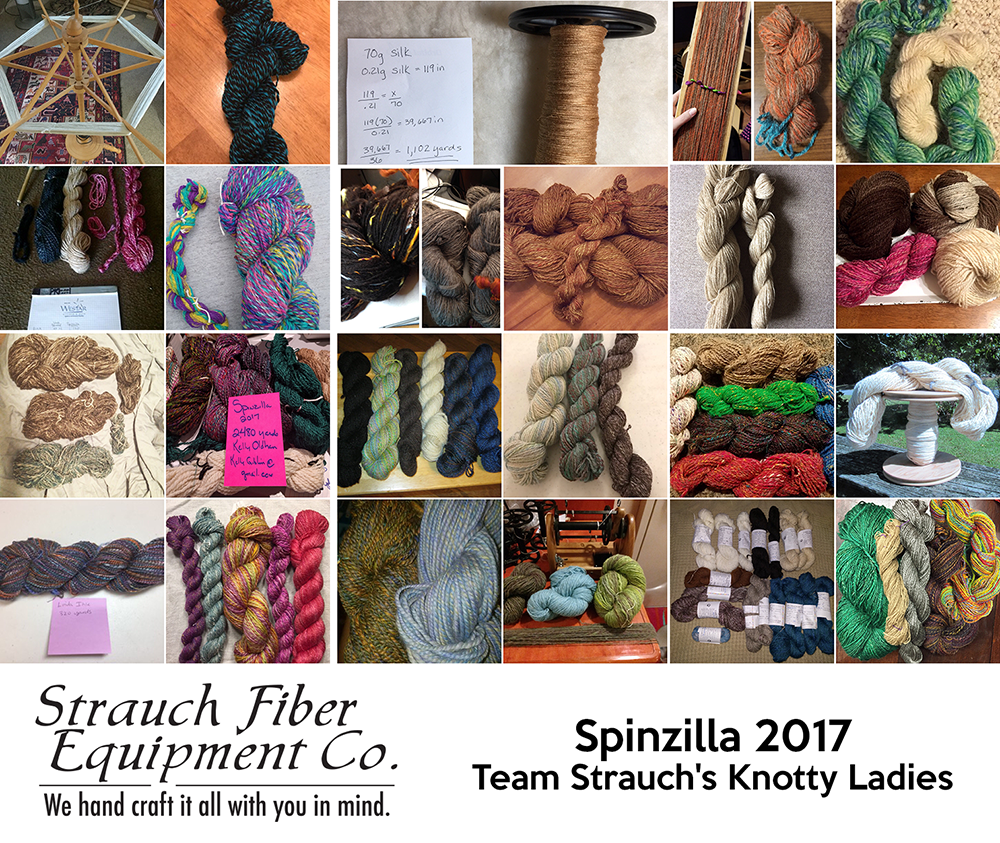
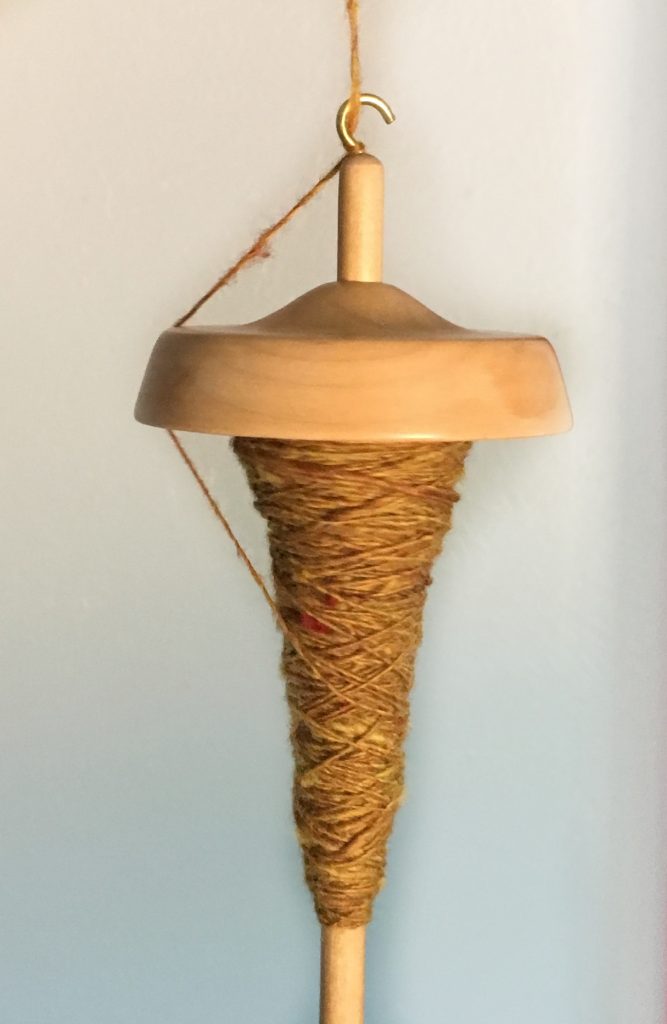
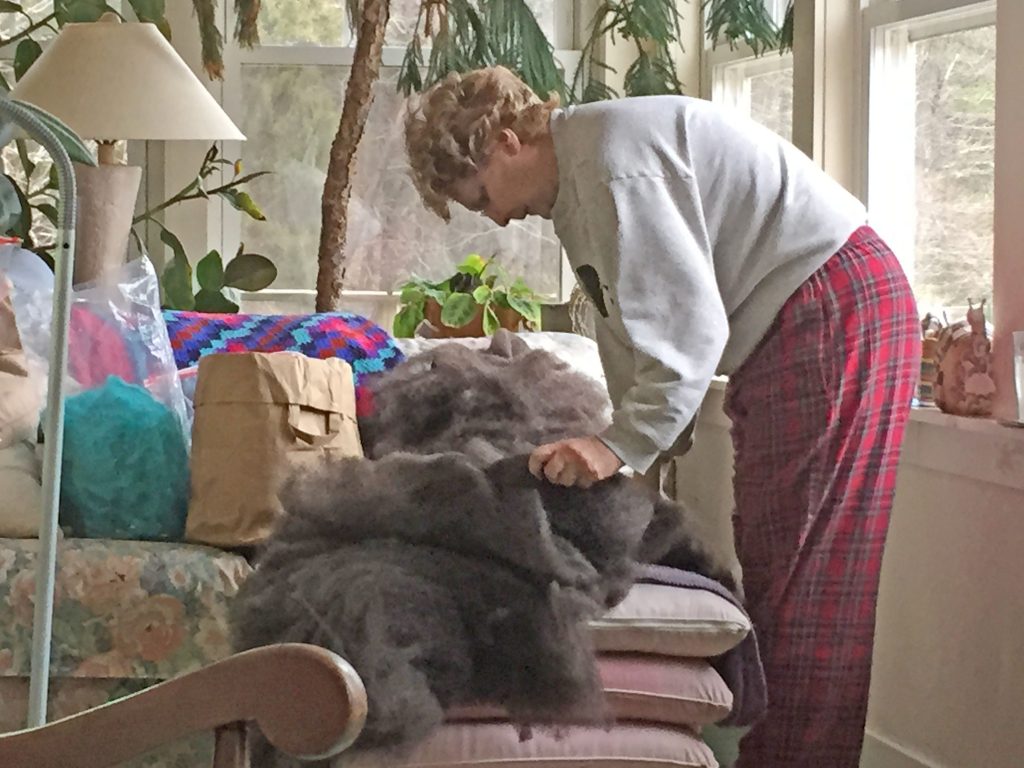
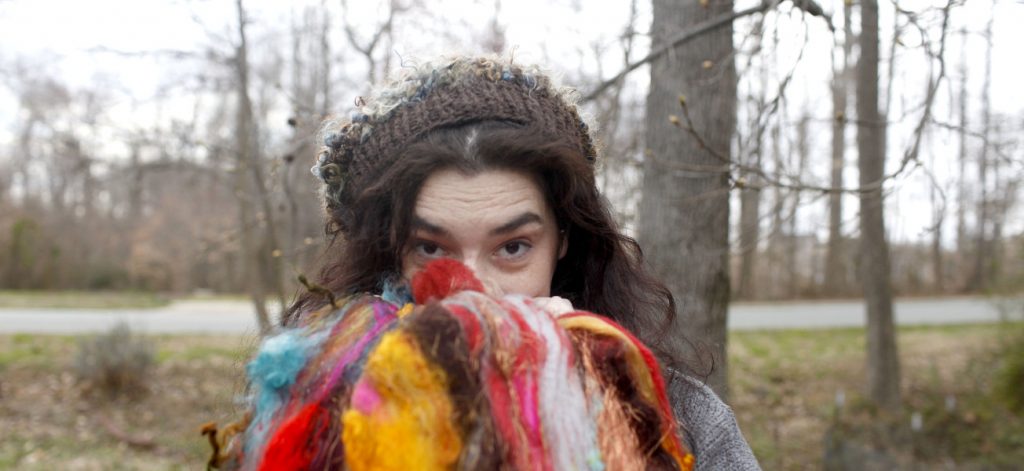
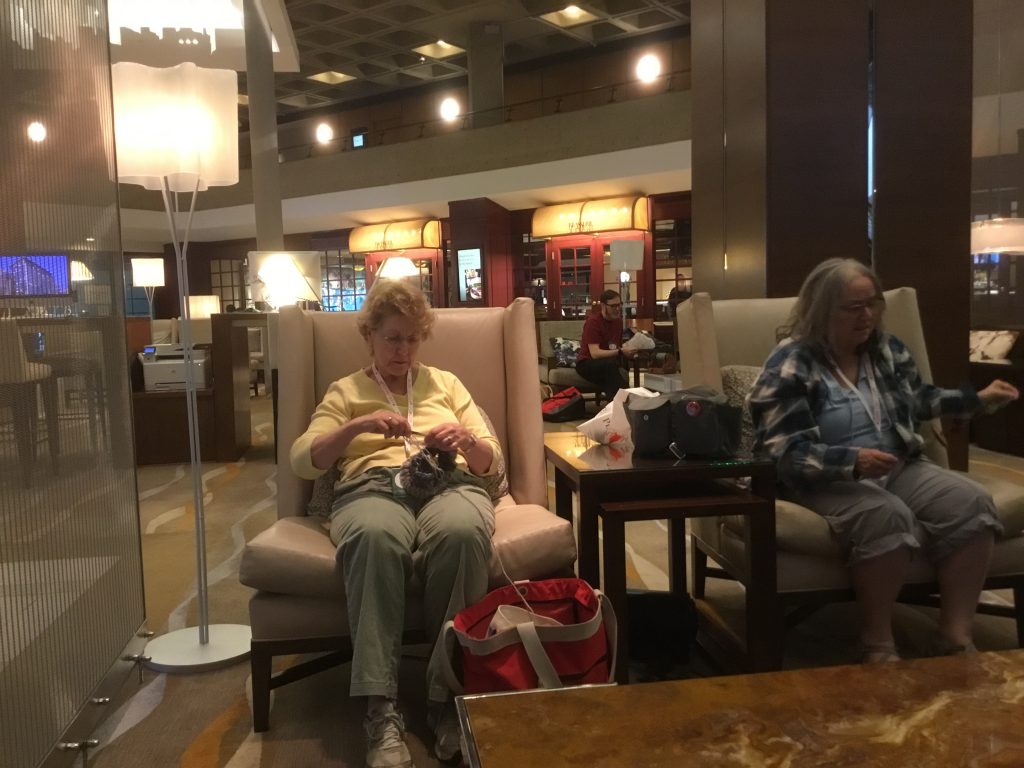
There’s one more recent event that we’d like to highlight: each year, we sponsor a Spinzilla Team called Team Strauch’s Knotty Ladies, and this lovely group of fiber enthusiasts spends the week of Spinzilla spinning beautiful yarns! While the results of this year’s event have yet to be announced, here are the photos submitted by each team member to show off their handiwork from another successful week of spinning. Congratulations are also in order for crossing the finish line, we appreciate all of their hard work!

Spinzilla 2017 Strauch's Team Knotty Ladies

Posted in Fiber, Shows, Spinzilla | Leave a comment

How to Blend a “Fade” Batt

Fades are all the craze in the knitting community, and the number of patterns popping up on Ravelry is astounding. Spinners who love working with multiple colors can also “fade” – just grab some colorful fibers and follow these easy steps to blend a fade batt on your Strauch drum carder!

supplies

Supplies:

Strauch Drum Carder -The Petite was used in this tutorial. Note: The wider your drum carder, the more colors you can have in your fade!

1/3 ounce each of fiber in 3 different colors, preferably in a coordinating color scheme.

How to make your Fade Batt: 

First, take strips of your first color and feed them through the drum carder on the left side (leaving the other 2/3 of the drum carder free).

first color

Then, take your second color and repeat the same process, feeding the strips through the center third of the drum carder.

second color

Finally, take your third color and feed it through the final third of the drum card, on the right side.

third color

Notice that this first pass isn’t meshed together well, so the colors may have a tendency to pull apart when removing your batt off the carder.

first pass

To fix this issue, begin drafting your batt out taking care that the colors stay in order. Then, pass the batt through your carder again, making sure to arrange your colors in the same way as the first pass (the first color should be on the left, the second color in the middle, and the third color on the right).

second pass

Now the colors should be blended together along the lines where they touch! Remove your batt from the carder; if you prefer, you can repeat this process a second time to blend the colors a little bit more.

finished batt

Now you’re ready to spin your own fade-worthy yarn! We’d love to see your own “fade” batt – tag us on Instagram with the hashtag #strauchfiber to share your creation.

If you liked this post, Pin it!

Pinterest image

Posted in Fiber, Spinzilla | Tagged , , , , , , , | Leave a comment

5 Steps to a Better Spinzilla Week

Spinzilla is just a few weeks away, and we know how fast that time slips away. To boost your productivity and enjoyment for the week, follow these 5 easy steps!

1: Prep your fiber ahead of time.

Every minute during the week of Spinzilla is precious, and this is a time for spinning your fiber, not prepping it. We suggest getting your fiber completely ready prior to the start of the competition. Whether your preferred prep is batts, rolags, or roving, our carders are there to help!

Removing_batt_thru_diz1

2: Choose your favorite spinning device.

Whether it’s a wheel, drop spindle, or e-spinner, make sure it’s something you’re comfortable with. You’ll be spinning for a few hours over the week, and it’s vital that you are at ease. You’ll be able to spin much longer and without discomfort if you choose well.

spindle

3: Stick with a fiber/spinning style that you love.

While it is tempting to switch up what and how you are spinning, leave that to the Tour de Fleece. If you stick with one fiber and one style, your spinning will stay more consistent. You’ll also get faster as you go through the week since your spinning style will be deep in your muscle memory.

Feb_14_2015_0082-1

4: Take frequent breaks.

Though it is tempting to sit for hours straight, you don’t want to sacrifice your knees, wrists, or back for a few extra yards. Try the 20-2 rule: every 20 minutes, take a 2 minute break. Get up, stretch, breathe, grab a drink of water, etc.

Good hand-health is great!

5: Have fun!

You know the phrase “time flies when you’re having fun.” Hang out with friends and other spinners in order to make the spinning process seem less lonely, and the hours will melt away.

Show off your Strauch carded batts/roving that you’ll be spinning during Spinzilla on Instagram by using the hashtag #strauchfiber.

Posted in Spinzilla | Tagged , , , | Leave a comment

Locker Hooking with Carded Batts

We’ve recently shared tutorials on how to card batts on your drum carder for spinning and felting. Today, we want to show you another way to use your hand carded batts!

Though Joanne frequently spins her batts, she also does locker hooking. A few years ago, she started a massive rug project – 7 ft. by 9 ft. to be exact!

IMG_0190

First, she picked out her wool and then carded it into batts.

Feb_14_2015_0082-1

DSC00269

She has been hooking on this project for years: at home, at shows – it doesn’t matter!

DSC02910-1

She’ll be finishing the rug soon, and we can’t wait for the big reveal!

Have you used your batts for rug hooking? Let us know over on Instagram using the hashtag #strauchfiber, we’d love to see your projects.

Posted in Fiber, Strauch Products | Tagged , , , | Leave a comment

How to Blend a Summer Inspired Batt

photo (71)

Our last post on how to blend a spring inspired batt was pretty popular, so we decided to do another seasonal tutorial to celebrate summer!

Previously, we chose a photo of an iris for our inspiration; this time around, we’re using a freshly cut sunflower!

Here’s what you’ll need:

  • Strauch Drum Carder (we used a Strauch Petite)
  • 1 ounce of Yellow fiber
  • 1/8 – 1/4 ounce of Red/Scarlet fiber
  • 1/2 ounce of Black fiber

individual fibers and flower

The sunflower in the sample had an orange hue with striations of a rusty red color, so we laid down a 1 ounce base of yellow fiber and approximately 1/8 to 1/4 ounce of the red. This ratio will vary depending on the color of the petals. As with all art, the exact ratio doesn’t matter as long as you get the essence of your inspiration.

Blend these two fibers a total of two times, removing the batt from the carder each time.

After the first pass with yellow and red.

After the first pass with yellow and red.

Then, take the orange fiber and pass it through the drum carder as a base for the next step.

Take approximately 1/2 ounce of black fiber and turn it into skinny strips. Pass them through on one side of the drum carder. This is in order to keep the black and orange slightly separated.

black strip

Remove this batt, and elongate it by gently drafting the batt into something that looks like thick roving. This will create a long strip of fiber that keeps the black stripe on one side, and the orange stripe on the other side.

adding the alpaca

Pass this through the drum carder one more time, taking care to keep the colors aligned as the fiber feeds onto the drum.

This will help mesh the fibers together along the line between the orange and the black. If left as is, the black fiber wouldn’t want to stay part of the batt, and would probably come off in one big chunk while spinning.

blended line

This technique is a great way to have a heathered section and solid color section in one batt. By separating out the steps, you can get more distinct sections in your finished batt.

Like this post? Pin it!

pinterest

Posted in Carding, Fiber | Tagged , , , , , , | Leave a comment

How to Wet Felt a Hot Pad

tea set

There’s no need to let the summer heat deprive you of the fun of working with wool fibers! We have a fun project to keep your drum carder busy this month – just round up some of your favorite feltable fibers from your stash!

The idea for this project came from felted stones and hot pads (find some inspirational images here on Pinterest). This tutorial will teach you how to wet felt a faux “stone” hot pad or mat using just one batt from your drum carder.

For this project you will need:

1 ounce of dark base animal fiber – Our sample uses black alpaca.

.25 ounces of colored animal fiber – Our sample uses some heathered tweed fiber we made here.

2-3 locks of white fiber or other feltable add-ins

Drum carder – Our sample was made on a Strauch Petite.

Window Screen – Large enough to house your project and fold over it. You can get this at a hardware store, or from an old window.

Towel – Large enough to house your project.

2 -3 Rubber bands.

Warm, soapy water in a squirt bottle or measuring cup

Waterproof or protected work surface.

Getting Started

Begin by carding your dark base fiber and colored fiber together twice. This will give you a semi-homogeneous blend, much like a natural stone.

Black fiber and colorful fiber.

Black fiber and colorful fiber after the first pass.

After carding the second time, leave the batt on the carder, and take the locks of white fiber (or other feltable add-ins) and add them to the carder. On this sample, we passed one lock on one half of the batt and two on the other half.

white locks

Now, remove the batt from your drum carder:

finished batt

With the “white” side of the batt facing up, divide the batt into two equal pieces. They should look roughly like a square.

Then, turn one piece 90 degrees, and flip it white side down. Lay the other piece on top of this piece to create a “fiber sandwich.” It’s important that the direction of the fibers are perpendicular, as this will aid in the felting process.

vert-horiz

stacked

To begin felting, take a towel, and lay it on your work surface. Place the window screen on top of the towel.

Take your “fiber sandwich” and place it on top of one half of the screen, and fold the other half of the screen on top.

Wet the fiber down with your soapy water until the fiber is saturated but not soggy. Here’s a great tutorial video to illustrate wet felting.

dawn dishsoap

Next, use the towel to roll the screen and “fiber sandwich” into a firm log (similar to when you are blocking a finished garment and want to remove excess water by rolling it up into a towel). Place 2 or 3 rubber bands at either end to keep everything secure for the next step.


rolled

Roll this log back and forth vigorously for 2-3 minutes.

Next, unroll everything and rotate the “fiber sandwich” 90 degrees, repeating this process a few more times until it is as felted as you would like. For more even felting, you can also flip the “fiber sandwich” over a couple of times during the process, in addition to rotating it.

felting process

Once you are happy with the felted piece, rinse it in cold water to remove the soap and to set the felt in place.

This method results in a slightly wavy organic edge as shown in our finished piece, however you can trim the edges for a more even look.

tea set

Use this as a centerpiece decoration for your table, a trivet for warm dishes, or folded over as a hot pad when handling pots, pans, or tea kettles!

If you use this tutorial to make your own felted stone mat, share it with us on Instagram using the hashtag #strauchfiber!

If you liked this tutorial, Pin it!

Pinterest


Posted in Fiber, Strauch Products | Tagged , , , , , , | Leave a comment

3 Ways to Beat the Heat with Yarn and Fiber

It has been swelteringly hot in the US recently and most fiber lovers want to do something with yarn or fiber – the challenge is finding something that isn’t so toasty.

That’s where we come in! Just because you don’t want to knit or spin with wool on your lap doesn’t mean that you can’t have a little fibery fun this summer. Here are three ways to beat the heat while still having fun with yarn and fiber!

1: Replenish Your Spinning Stash

Break out your Strauch drum carder and start blending beautiful batts to replenish your spinning fiber  stash. You’ve probably used  up a lot of fiber in these first few of weeks of the Tour de Fleece, and don’t forget that Spinzilla is only three short months away – you’ll definitely want some fresh spinning material. Whether you make themed batts or stash-busting batts, we know you’ll have fun!

batt layers

2: Reorganize Your Yarn Room

This tip is particularly pleasant if your craft room is air-conditioned. Whether you’re a yarn dyer, or a yarn-acquirer, the stash can get unruly. Take the time this summer to frog, wind, or ball your yarn from abandoned projects.

Leftover bits and bobs can also benefit from being rewound to keep things tidy -a mini-skein winder is a great choice for your clean-up. These skein winders open to a maximum of 1 yard, and are ideal for creating even and tidy mini-skeins. Sorting your full and partial skeins by weight, fiber content, or color adds another level of organization to your stash, making it easy to find what you need for future projects.

Are you preparing for a sweater knit as soon as the weather cools down? Break out your Jumbo Ball Winder to create cakes of yarn that can weigh up to a pound! The ball bearings make this task easy breezy. Whether you wind multiple skeins of yarn into one cake, or you’re winding a Jill Draper Empire skein, this winder will take care of you.

BW_&_SW_together

Now is also a great time to wind your handspun yarns from the Tour de Fleeece into skeins so that you can keep those bobbins free for your next spinning project (or Spinzilla, if you prefer to plan further ahead!). Like to spin bulky art yarns? The Jumbo Ball Winder can handle those, too!

3: Take Your Wet Felting Outside

If you feel the urge to make something, try wet felting! While there are many techniques, we like this jar method that we shared on our blog earlier this year. By using a plastic jar and some marbles, you can have a great time outside with your kids, grandkids, or friends with little clean-up needed afterwards!

How to Felt in a Jar

What are some of your favorite fibery ways to keep cool in the summer? Let us know over on Instagram by using the hashtag #strauchfiber.

Posted in Fiber, Knitting, Strauch Products | Tagged , , , , , , , , | Leave a comment

Fiber Artist Feature: Esther Rodgers – Jazzturtle Creations

We’re glad that you enjoyed our previous Fiber Artist Feature with Nicole Frost from Frostyarn.

As part of our ongoing series, today’s interview is with Esther Rodgers from Jazzturtle Creations.

Esther is a brilliant fiber artist who spins, weaves, knits, and dyes. Her style can be described as free-spirited and colorful.

rainbowheader

Why do you love fiber so much?
Wow, that’s really hard to pin down. I love that fiber has so many possibilities. What it becomes in my hands is totally different than if it was in the hands of someone else. I love that it’s ageless. I’ve spun with multiple generations in the same workshop. Fiber Art lives because it’s passed down through hands. Techniques are re-invented, but all have been inspired by teachers before. Fiber transcends boundaries and brings people together. In this time, when there’s so much anxiety and division, something that can people can share, when they may not have anything else in common, is important.

mg_9175

How did you get your start in the fiber arts?
I was always good with color. When I was in massage school, I made quilt tops that I turned into clothes and sold them. I loved scrapbooking- playing with textures and color. Then when Bryan proposed I decided I was going to teach myself to knit, so I could give shawls to my bridesmaids;  but the yarn that I found in the craft stores (since that’s where I went for scrapbooking supplies, I didn’t know about “yarn shops”) wasn’t what I was looking for. I decided that I was also going to teach myself to spin. I took a few classes at my local yarn shop and promptly bought a spinning wheel. Soon after we were married, my husband lost his job in the economy crash. I began selling my yarn, which carried us through the months he was without work. I had no idea that when I started putting yarn in my Etsy shop, that it would become what it has.

What inspires you?
Everything? But really, I find inspiration in everyday things; music, nature, colors I see in the most random things, and textures I come upon. I was even inspired when I was in the hospital. It was somewhere around day 8 or 9, I know I was still on lots of drugs, and I looked up at my very full IV pole- at all the clear tubes and glass tubes and I thought, OH that would be cool woven… I had the nurses start flushing and saving the IV tubing when it was done. Now I have a couple bags of things that will make an interesting wallhanging for my surgeon. Really, there’s inspiration in everything.

mg_2862-etsy

Which other fiber artists do you admire?
Jackie Graff, her natural dyeing blows my mind (and she’s an awesome spinner, too).  I am really interested in natural dyeing, and Jackie does amazing things. I also am constantly astounded by Melissa Nasby, and her felted puppets. I treasure the mask I have of hers; she is supremely talented. I love Nicole Frost and her use of color and inspiration for fiber.  Lexi Boeger has always been an inspiration, she has that insanely irritating ability to be good at most things she touches. She is my ear and my soundboard and without her I would go nuts inside my head. There are so many people that I admire and are inspired by, I could go on and on and on. Stephanie Stratton (A Tangled Yarn) is a master of color. Then of course I’m inspired by my fellow educators, Amy King, Abby Franquemont, Jillian Moreno and Beth Smith, they were very supportive and encouraging throughout my medical trauma and recovery. They really helped keep me together.

Describe your creative process
That’s a hard question to answer, because it changes by the day and by the yarn and by the project. I have concept yarns that are in different places; being mapped, having bags where I’m collecting supplies, and some that are just ideas on paper. I do write a lot of things down. I have multiple project journals that have ideas in various stages of planning. I find that the creative brain is one that doesn’t hold onto ideas long, when another arrives it pushes the first one out, so writing things down is important for me. I used to have a gazillion post it notes on things, now I keep my post its are in journals.

Which Strauch product can you not live without?
HA! That’s easy – my Mad Batt’r. I love that carder. I really learned how much I love that carder in the last few months. The medical trauma stole all my core strength (major abdominal surgery will do that) and so when I got my creative vibe back I wanted to spin and weave and create. My Mad Batt’r s chain drive gears are so smooth that I can card batts without the discomfort I have when using other carders because I need a bit more core strength.

Thanks for being part of our Fiber Artist Feature series, Esther!

If you loved this interview, let us know by sharing it with your friends on Facebook!

Posted in Strauch Artists, Uncategorized | Tagged , , , , , , | Leave a comment

PLY Away 2017 Recap

In its second year running, PLY Away has the look and feel of a fully established fiber show. We enjoyed our trip so much that we wanted to share a snippet of our time there with you!

IMG_1140

Show organizers Jacey and Levi have done great work to bring the best teachers, vendors, and students to a classy venue. Jacey, Editor in Chief of PLY Magazine, spearheaded the show, while her husband Levi helped make her dreams a reality. Along with these two fantastic people, there are many more folks helping along the way.

IMG_1245

We loved meeting spinners from around the globe. Joanne particularly enjoyed teaching fiber lovers how to blend fibers on our drum carders.

IMG_1139

The best part of the show? After a long day of setting up, demonstrating, teaching, and learning, everyone can let their hair down and knit for a while.

IMG_1063

From all of us at Strauch, we’d like to thank everyone who made PLY Away possible!

Posted in Shops | Tagged , , , , , | Leave a comment

Get Inspired with 5 Fiber Blending Tutorials

Today we’re sharing some of our favorite fiber blending tutorials. We hope you will be inspired to try something new on your Strauch Drum Carder this summer!

1.  The Great Blending Experiment

Before moving into color management and texture creating, learning what it takes to get a truly blended batt is necessary. This post puts down a foundation of knowledge for your batt-blending experiments.

IMG_2720

2. Blending a Color Palette Batt

Everywhere you look – Pinterest, Instagram, Facebook, and magazines – you see color palettes. In this post learn how to blend a batt using an inspirational color palette.

fiber palette

3. How to Blend a Peacock Batt

Explore color inspiration further with this post which uses the colors of a peacock feather (and the feather itself!) to create a stunning batt.

feather and batt

4. How to Blend Heathered Batts

Learn how to create a heathered batt which uses up little bits of fiber – a convenient and clever way to spring clean your stash.

pass 1

5. How to Blend a Spring Inspired Batt

Perhaps you have a favorite photo to inspire your next project. Here, you’ll learn how to use inspirational photos to choose fiber colors to blend into a beautiful batt.

photo (31)

We hope you enjoyed this round-up of our favorite fiber blending tutorials, and remember, if you try out any of these techniques, please share your photos with us on Instagram using the hashtag #strauchfiber.

Posted in Fiber, Strauch Products | Tagged , , , , | Leave a comment